No-Bake Whipped Ricotta Cheesecake Recipe
Introduction
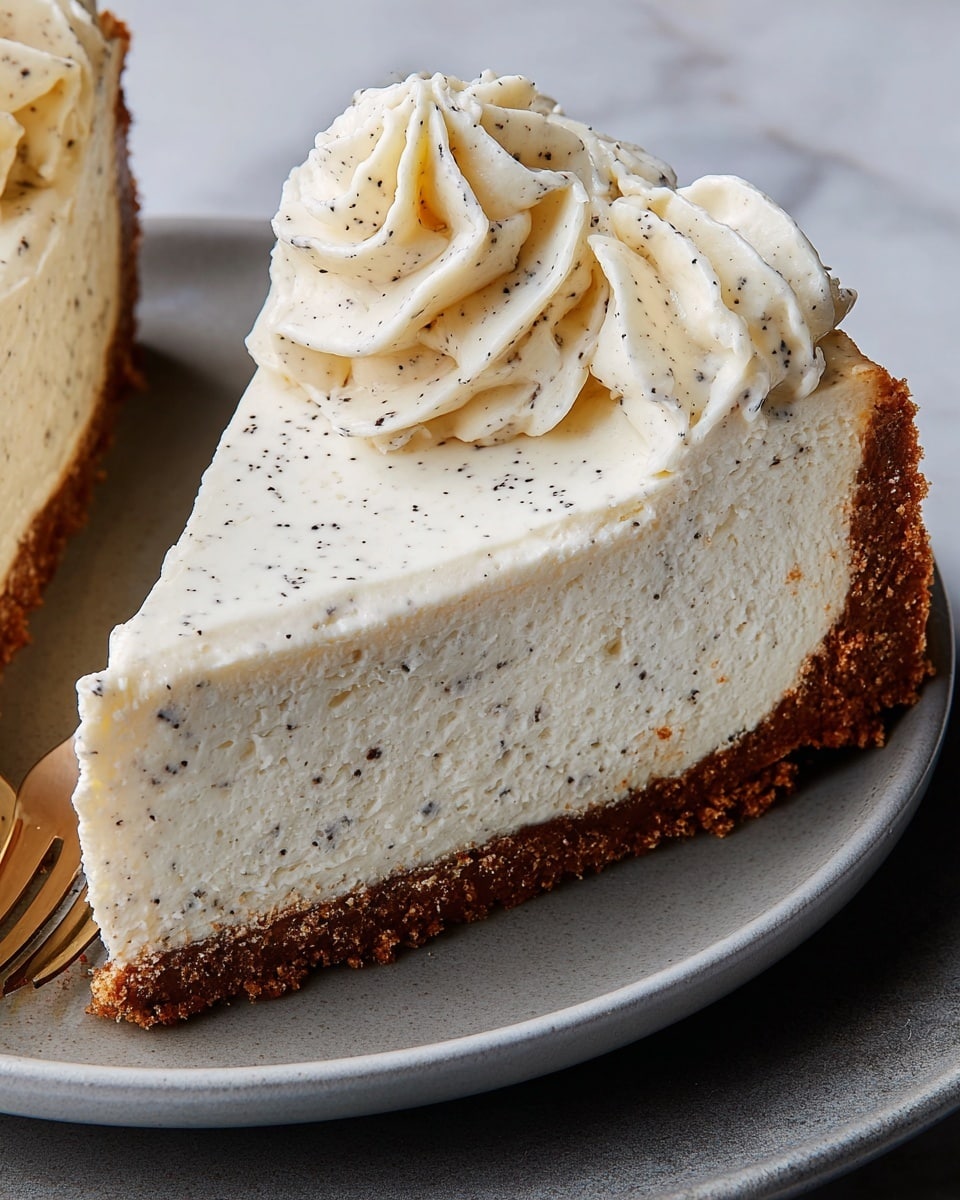
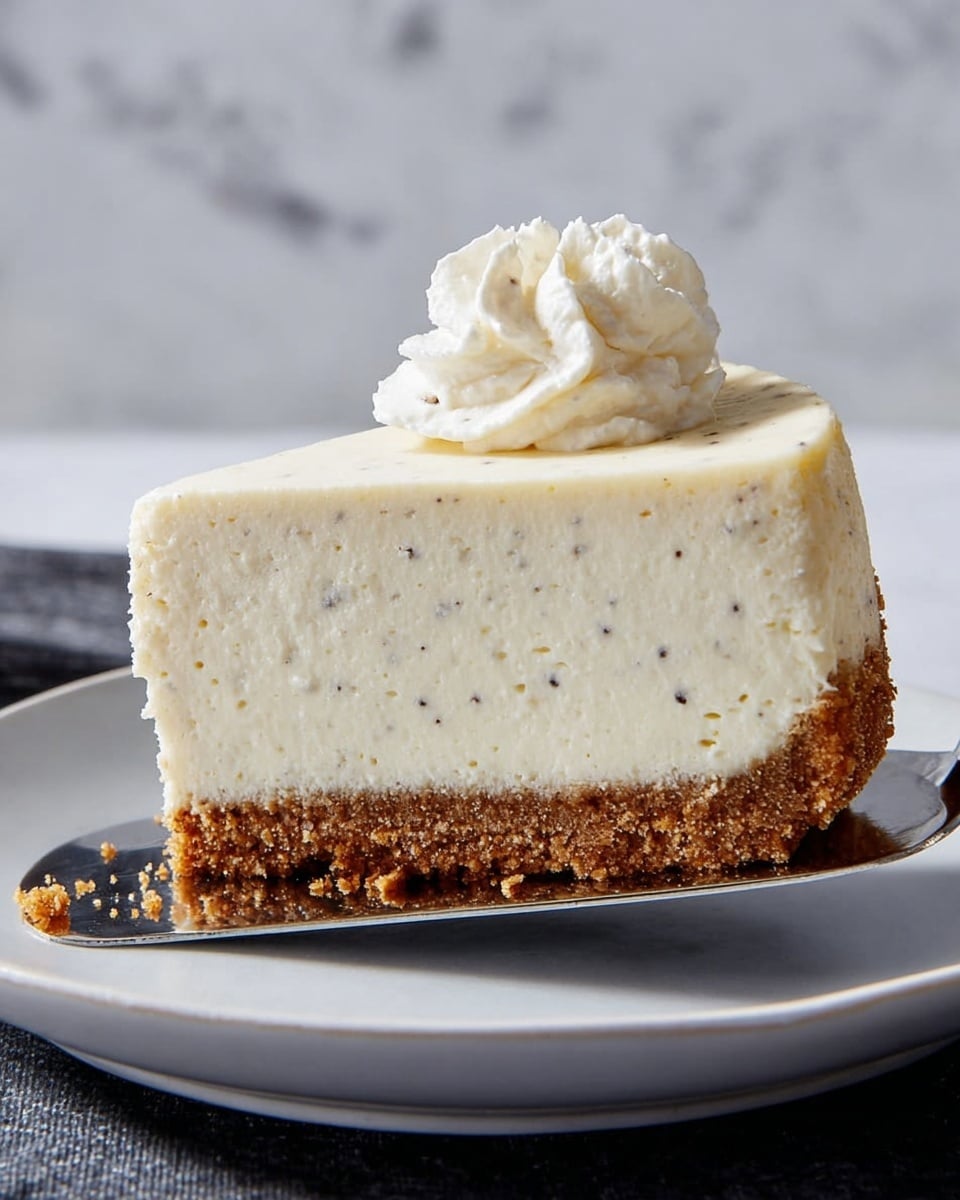
This no-bake whipped ricotta cheesecake is a light and creamy dessert that everyone will love. With a crunchy Biscoff cookie crust and a fluffy lemony filling, it’s perfect for warm days when you want a sweet treat without turning on the oven.
Ingredients
- 4 oz. Biscoff cookies (about 18), finely crushed
- 4 tbsp. unsalted butter, melted, cooled
- 1 tsp. finely grated lemon zest
- 1 (1/4-oz.) packet gelatin
- 1 cup heavy whipping cream
- 3/4 cup (150 g) granulated sugar, divided
- 3 cups (24 oz.) whole-milk ricotta
- 1 cup (8 oz.) mascarpone
- 1 tbsp. fresh lemon juice
- 2 tsp. vanilla bean paste or vanilla extract
- 1/4 tsp. kosher salt
Instructions
- Step 1: Line the bottom of an 8-inch springform pan with parchment paper.
- Step 2: In a medium bowl, combine the crushed Biscoff cookies, melted butter, and lemon zest. Press this mixture firmly into the bottom of the prepared pan to form the crust.
- Step 3: Place 1/4 cup hot water into a small bowl, sprinkle the gelatin evenly over the surface, and stir to combine. Let it sit for 5 to 10 minutes until the gelatin absorbs the water.
- Step 4: In the bowl of a stand mixer fitted with a whisk attachment, beat the heavy cream and 1/2 cup of granulated sugar on medium-high speed until stiff peaks form.
- Step 5: In a large bowl, stir together the ricotta, mascarpone, lemon juice, vanilla bean paste, salt, and the remaining 1/4 cup sugar until the mixture is light and fluffy, about 1 minute.
- Step 6: Add the softened gelatin to the ricotta mixture and stir well to combine. Gently fold in the whipped cream until fully incorporated.
- Step 7: Transfer about 1 cup of the filling into a piping bag fitted with a star tip. Pour the remaining filling evenly over the crust in the pan and smooth the top. Pipe 5 to 6 large decorative florets on top of the filling.
- Step 8: Refrigerate the cheesecake until the gelatin sets and the filling is firm, at least 1 hour 30 minutes or up to overnight before serving.
Tips & Variations
- For a gluten-free option, substitute the Biscoff cookies with gluten-free cookies or crushed nuts for the crust.
- If you don’t have lemon zest, a teaspoon of lemon extract can be used to enhance the lemon flavor.
- Use a hand mixer instead of a stand mixer if needed, but be sure to whip the cream until stiff peaks form for the best texture.
- Try adding fresh berries or a fruit compote on top before serving for a refreshing contrast.
Storage
Store this cheesecake covered in the refrigerator for up to 3 days. It’s best enjoyed chilled and can be gently reheated to room temperature for about 15 minutes before serving if preferred. Avoid freezing as the texture may change.
How to Serve
Serve this delicious recipe with your favorite sides.
FAQs
Can I make this cheesecake ahead of time?
Yes, this no-bake cheesecake can be made up to one day in advance. Just keep it refrigerated and covered until ready to serve.
What can I substitute for gelatin if I want a vegetarian option?
You can use agar-agar as a vegetarian substitute, but be sure to follow the package instructions carefully as it sets differently from gelatin.
Print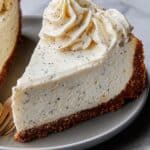
No-Bake Whipped Ricotta Cheesecake Recipe
- Total Time: 1 hour 50 minutes
- Yield: 8 servings 1x
- Diet: Vegetarian
Description
This No-Bake Whipped Ricotta Cheesecake is a luscious, creamy dessert featuring a crunchy Biscoff cookie crust, light ricotta and mascarpone filling, and delicate whipped cream. Perfect for a refreshing treat without the need for baking, it incorporates hints of lemon and vanilla for added zest and aroma, set with gelatin in a springform pan for easy slicing.
Ingredients
Crust
- 4 oz. Biscoff cookies (about 18), finely crushed
- 4 tbsp. unsalted butter, melted and cooled
- 1 tsp. finely grated lemon zest
Filling
- 1 (1/4-oz.) packet gelatin
- 1 c. heavy whipping cream
- 3/4 c. (150 g.) granulated sugar, divided
- 3 c. (24 oz.) whole-milk ricotta
- 1 c. (8 oz.) mascarpone
- 1 tbsp. fresh lemon juice
- 2 tsp. vanilla bean paste or vanilla extract
- 1/4 tsp. kosher salt
Instructions
- Prepare the crust: Line the bottom of an 8-inch springform pan with parchment paper to prevent sticking. In a medium bowl, combine the finely crushed Biscoff cookies with the melted, cooled unsalted butter and the grated lemon zest. Mix thoroughly until the crumbs are evenly coated with butter. Press this mixture firmly and evenly into the bottom of the prepared pan to form the crust. Set aside.
- Bloom the gelatin: Pour 1/4 cup of hot water into a small bowl and sprinkle the gelatin evenly over the surface. Stir gently to combine. Let the gelatin absorb the water and bloom for 5 to 10 minutes, allowing it to swell and soften.
- Whip the cream: In the large bowl of a stand mixer fitted with the whisk attachment, beat the heavy whipping cream with 1/2 cup of the granulated sugar on medium-high speed until stiff peaks form. Be careful not to over-whip. Set aside the whipped cream.
- Prepare the cheese filling: In a separate large bowl, use a spatula to stir together the whole-milk ricotta, mascarpone, fresh lemon juice, vanilla bean paste (or vanilla extract), kosher salt, and the remaining 1/4 cup granulated sugar until the mixture becomes light and fluffy, about 1 minute. Stir the bloomed gelatin into this cheese mixture until fully combined.
- Combine filling and whipped cream: Gently fold the whipped cream into the cheese and gelatin mixture, using a spatula to retain as much volume as possible while achieving a smooth, airy filling.
- Assemble the cheesecake: Transfer about 1 cup of the filling into a piping bag fitted with a star tip for decoration. Pour the remaining filling into the prepared crust in the springform pan and smooth the top evenly. Pipe 5 to 6 large flower-like florets on the surface of the cheesecake using the reserved filling for an elegant presentation.
- Chill to set: Refrigerate the assembled cheesecake for at least 1 hour 30 minutes, or up to overnight, allowing the gelatin to fully set the cheesecake and the flavors to meld before serving. Carefully remove the cheesecake from the springform pan and enjoy.
Notes
- Ensure the butter for the crust is fully cooled before mixing to prevent melting the cookie crumbs too much.
- Use fresh lemon zest and juice for the best flavor brightness in the filling.
- Be gentle when folding the whipped cream into the cheese mixture to maintain a light texture.
- Make sure the gelatin is fully bloomed before adding to avoid lumps.
- The cheesecake is best served chilled and consumed within 2-3 days for freshness.
- Parchment paper at the base helps with easy removal and clean presentation.
- Prep Time: 20 minutes
- Cook Time: 0 minutes
- Category: Dessert
- Method: No-Cook
- Cuisine: Italian-American
Keywords: no-bake cheesecake, ricotta cheesecake, whipped ricotta, Biscoff crust, easy cheesecake, no-cook dessert