
Strawberry Cheesecake Bars Recipe
Introduction
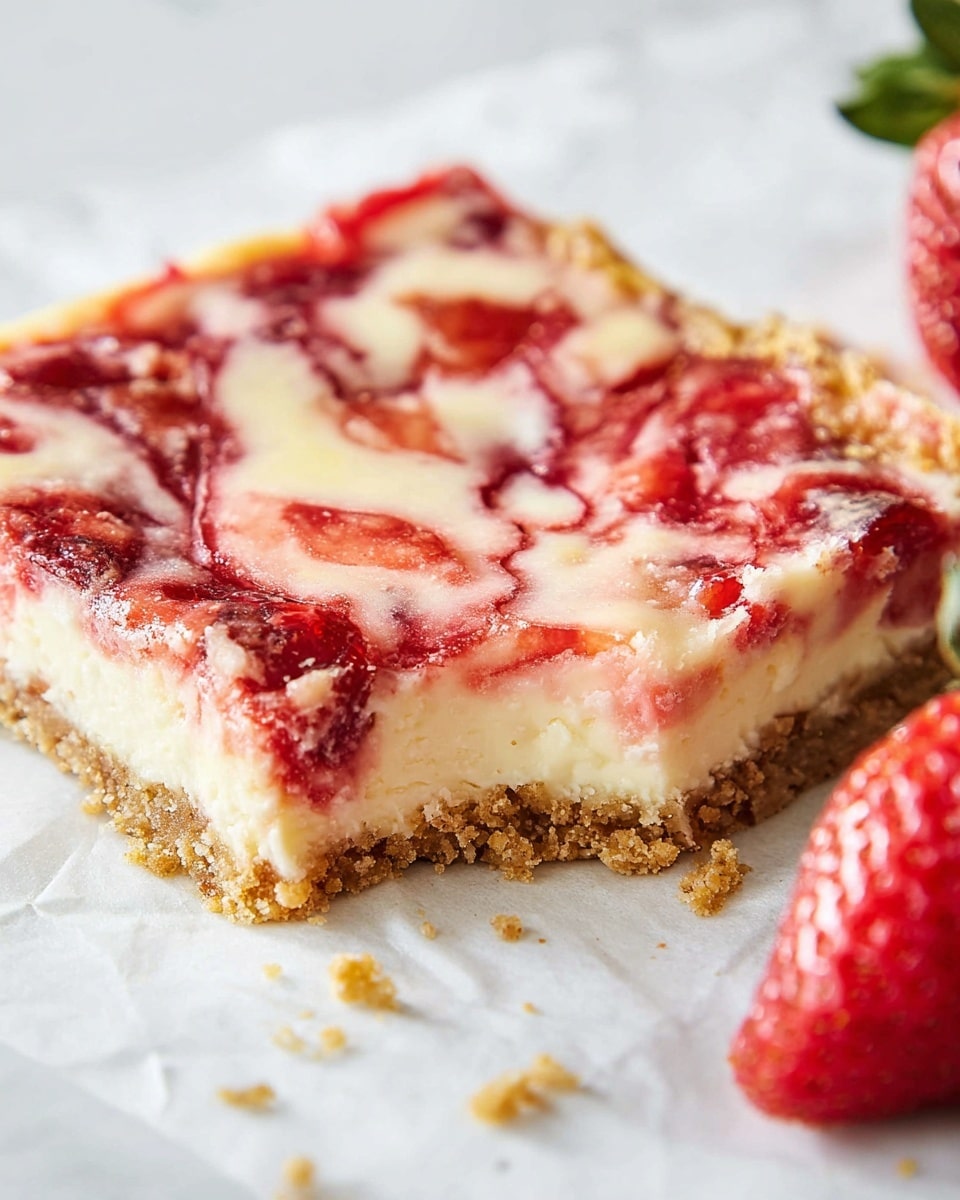
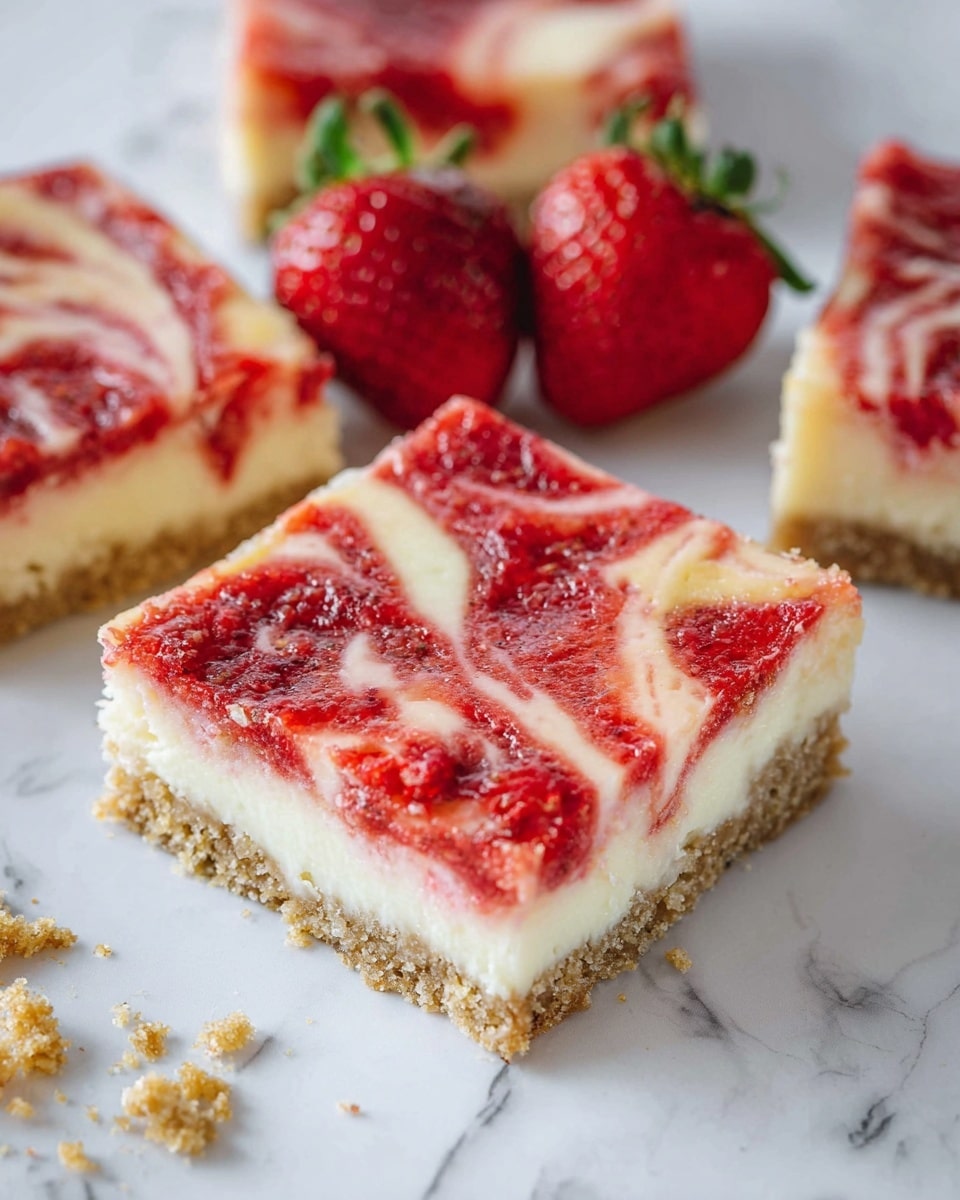
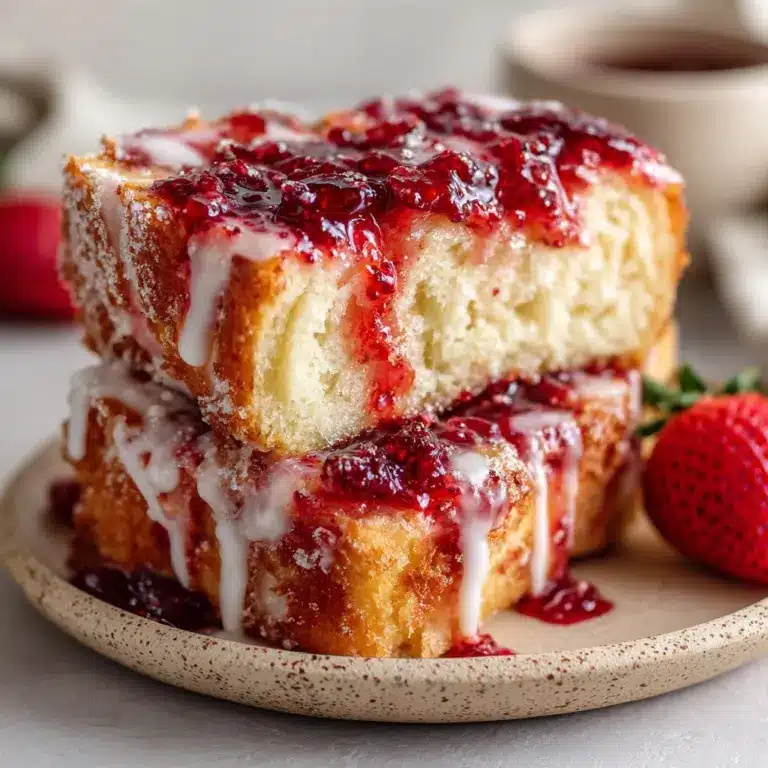
These Strawberry Cheesecake Bars combine a buttery graham cracker crust with a creamy cheesecake layer and a fresh, sweet strawberry topping. They’re perfect for a summer dessert or any time you want a delightful treat that’s easy to make and share.
Ingredients
- 1 ½ cups graham cracker crumbs (about 1 sleeve graham crackers)
- 6 tablespoons melted butter
- ¼ cup granulated sugar
- 2 (8-ounce) packages cream cheese, softened
- 1/3 cup granulated sugar
- 2 large eggs
- 1 teaspoon vanilla extract
- 2 cups chopped strawberries
- 2 tablespoons granulated sugar
- 1 tablespoon lemon juice
Instructions
- Step 1: Combine the chopped strawberries, 2 tablespoons of sugar, and lemon juice in a saucepan. Bring to a boil, then reduce to a simmer and cook for 5 to 10 minutes. Crush the strawberries with a fork or potato masher until broken down. Remove from heat and let cool.
- Step 2: Preheat your oven to 350º F (175º C). Line a 9-inch baking dish with parchment paper or grease it well to prevent sticking.
- Step 3: In a bowl, mix the graham cracker crumbs, ¼ cup sugar, and melted butter until fully combined. Press this mixture firmly into the bottom of the prepared baking dish to form the crust.
- Step 4: Using an electric mixer, beat the softened cream cheese and 1/3 cup sugar together until smooth and creamy. Add the eggs one at a time, beating well after each addition. Stir in the vanilla extract until everything is well combined.
- Step 5: Pour the cream cheese mixture evenly over the graham cracker crust in the baking dish.
- Step 6: Dollop about half of the cooled strawberry mixture over the cheesecake layer. Use a knife to gently swirl the strawberries into the cheesecake layer for a marbled effect.
- Step 7: Bake the bars for 30 to 35 minutes, or until set and the edges are lightly golden. Remove from the oven and allow to cool for 30 minutes, then refrigerate until completely chilled before serving.
- Step 8: Once chilled, slice the bars and top each piece with the remaining strawberry mixture if desired.
Tips & Variations
- For a richer crust, try adding a pinch of cinnamon to the graham cracker crumbs before mixing with butter.
- Use fresh, ripe strawberries for the best flavor, or substitute with frozen berries, thawed and drained.
- To make it easier to swirl the strawberry topping, slightly warm it before dolloping on the cheesecake layer.
- Swap the graham cracker crust for a digestive biscuit crust if you prefer a different flavor.
Storage
Store the cheesecake bars in an airtight container in the refrigerator for up to 4 days. They can be served chilled or at room temperature. If desired, reheat briefly in the microwave for about 10 seconds, but they are best enjoyed cold.
How to Serve
Serve this delicious recipe with your favorite sides.
FAQs
Can I make these bars ahead of time?
Yes, these cheesecake bars can be made a day in advance and refrigerated until ready to serve. This actually helps the flavors meld and the texture firm up.
Can I freeze the cheesecake bars?
Yes, you can freeze the bars for up to 1 month. Wrap them tightly in plastic wrap and place in a freezer-safe container. Thaw overnight in the refrigerator before serving.
Print
Strawberry Cheesecake Bars Recipe
- Total Time: 3 hours 55 minutes
- Yield: 9–12 bars 1x
- Diet: Vegetarian
Description
Delight in these luscious Strawberry Cheesecake Bars, featuring a buttery graham cracker crust topped with a creamy, smooth cheesecake layer and swirled with a fresh, homemade strawberry compote. Perfectly baked to a golden finish, these bars are a crowd-pleaser for any occasion and ideal for strawberry lovers seeking a sweet and tangy dessert.
Ingredients
Crust
- 1 ½ cups graham cracker crumbs (about 1 sleeve graham crackers)
- 6 tablespoons melted butter
- ¼ cup granulated sugar
Cheesecake Layer
- 2 (8-ounce) packages cream cheese, softened
- 1/3 cup granulated sugar
- 2 large eggs
- 1 teaspoon vanilla extract
Strawberry Topping
- 2 cups chopped strawberries
- 2 tablespoons granulated sugar
- 1 tablespoon lemon juice
Instructions
- Prepare the Strawberry Mixture: In a saucepan, combine the chopped strawberries, 2 tablespoons sugar, and lemon juice. Bring to a boil, then reduce heat and simmer for 5-10 minutes until the strawberries soften. Use a fork or potato masher to crush the fruit slightly. Remove from heat and allow to cool to room temperature.
- Preheat Oven and Prepare Pan: Preheat your oven to 350º F (175º C). Line a 9-inch baking dish with parchment paper or grease it thoroughly to prevent sticking.
- Make the Crust: In a medium bowl, mix together the graham cracker crumbs, ¼ cup sugar, and melted butter until the mixture holds together. Press this mixture firmly into the base of the prepared baking pan to form an even crust layer.
- Mix the Cheesecake Filling: Using an electric mixer, beat the softened cream cheese and 1/3 cup sugar until smooth and creamy. Add the eggs one at a time, mixing well after each addition to fully incorporate. Stir in the vanilla extract until the mixture is uniform and velvety.
- Assemble the Bars: Pour the cheesecake batter evenly over the graham cracker crust. Dollop about half of the cooled strawberry mixture over the cheesecake layer. Using a knife, gently swirl the strawberry topping into the cheesecake to create a marbled effect.
- Bake: Place the baking dish into the oven and bake for 30-35 minutes, or until the cheesecake bars are set and the edges are lightly golden. Avoid overbaking to maintain a creamy texture.
- Cool and Chill: Remove from the oven and let the bars cool at room temperature for about 30 minutes. Afterward, refrigerate the bars for at least 2-3 hours until completely chilled and firm.
- Serve: Slice the chilled bars into squares and optionally top with the remaining strawberry mixture for an extra burst of fresh flavor before serving.
Notes
- Ensure the cream cheese is fully softened for a smooth cheesecake batter without lumps.
- Press the crust firmly to prevent it from crumbling when cutting the bars.
- Chilling the cheesecake bars completely helps achieve clean slices and enhances flavor.
- Use fresh ripe strawberries for the best natural sweetness and flavor in the topping.
- For a more intense strawberry flavor, you may cook the strawberries slightly longer to reduce and thicken the compote.
- Prep Time: 20 minutes
- Cook Time: 35 minutes
- Category: Dessert
- Method: Baking
- Cuisine: American
Keywords: strawberry cheesecake bars, no-bake strawberry topping, graham cracker crust, creamy cheesecake, easy dessert bars, homemade strawberry compote
