
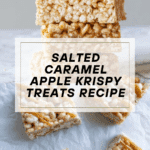
Salted Caramel Apple Krispy Treats Recipe
Introduction
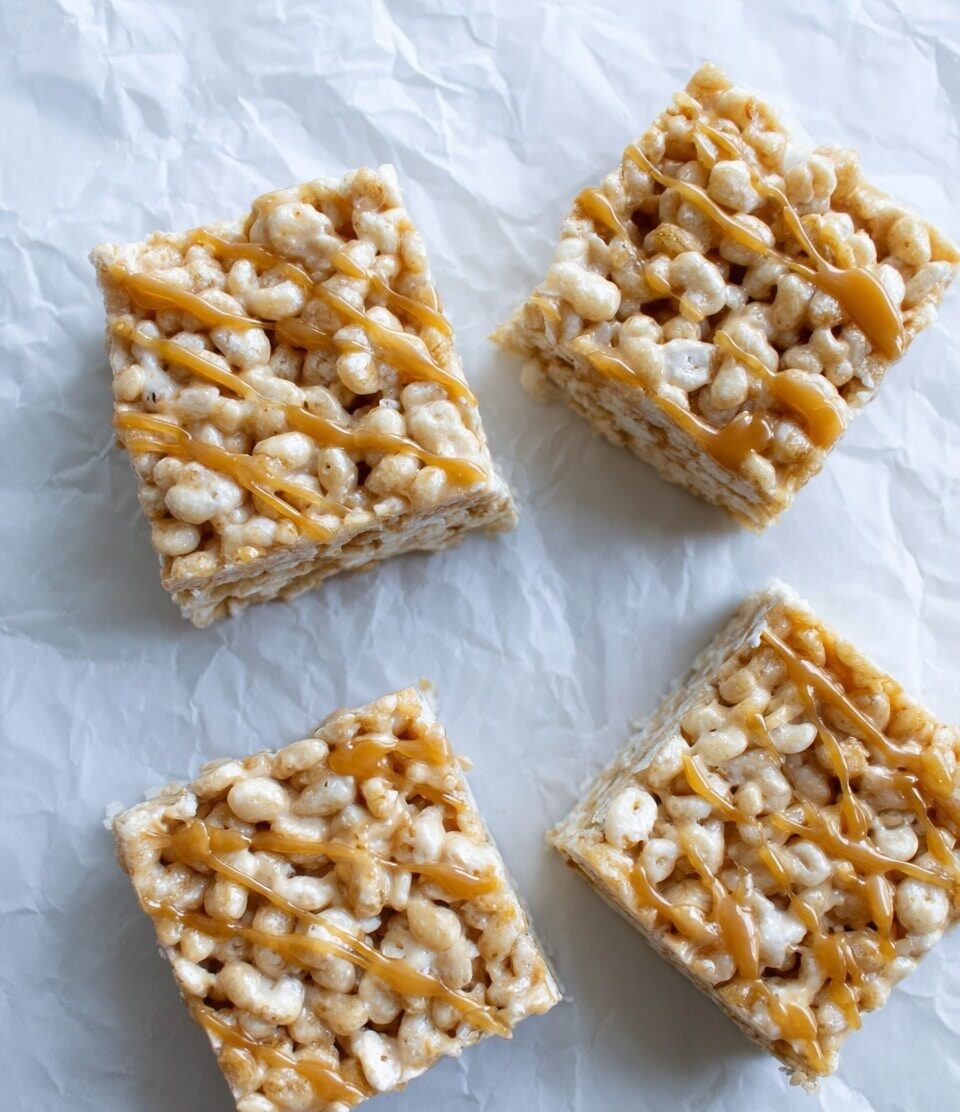
These Salted Caramel Apple Krispy Treats combine the classic crunch of Rice Krispies with a luscious homemade salted caramel and chewy dried apple pieces. Perfect for a sweet snack or dessert, they bring a delicious twist to a beloved favorite.

Ingredients
- 1 cup granulated sugar
- 1/4 cup cold water
- 1/2 cup heavy whipping cream
- 4 tablespoons salted butter
- 1 teaspoon sea salt
- 1/2 teaspoon vanilla
- 4 cups miniature marshmallows
- 4 tablespoons butter
- 6 cups Rice Krispies cereal
- 1 cup dried apple pieces
- 1 cup salted caramel (from above)
Instructions
- Step 1: To make the salted caramel, combine the granulated sugar and cold water in a medium saucepan over medium heat. Stir continuously until the mixture turns a medium to dark amber color.
- Step 2: Add the salted butter to the caramel and stir to combine for 1 to 2 minutes. Be cautious as the caramel will bubble up when butter is added.
- Step 3: Slowly drizzle in the heavy whipping cream while stirring. Allow the caramel to boil for 2 minutes, then remove from heat.
- Step 4: Stir in the vanilla and sea salt. Let the caramel cool and thicken before using.
- Step 5: For the Krispy treats, melt the butter in a large saucepan over low heat. Add the miniature marshmallows and 1 cup of the prepared salted caramel, stirring until marshmallows are fully melted.
- Step 6: Remove from heat, then fold in the Rice Krispies cereal and dried apple pieces until everything is evenly coated.
- Step 7: Press the mixture firmly into a prepared pan. Drizzle additional salted caramel on top if desired.
- Step 8: Allow the treats to cool completely before cutting into squares and serving.
Tips & Variations
- Use dried apple pieces with a chewy texture for the best contrast in the treats.
- For a richer caramel flavor, try using a mix of salted and unsalted butter.
- Press the mixture firmly into the pan with a spatula to help the treats hold their shape.
- Drizzle extra caramel right before serving for a more indulgent presentation.
Storage
Store the Krispy treats in an airtight container at room temperature for up to 3 days. To keep them fresh longer, refrigerate for up to a week. If refrigerated, allow them to come to room temperature before serving for the best texture. Reheating is generally not recommended as it can affect the treat’s crispy texture.
How to Serve
Serve this delicious recipe with your favorite sides.
FAQs
Can I use regular marshmallows instead of miniature?
Yes, but you may need to cut the larger marshmallows into smaller pieces to help them melt evenly and coat the cereal properly.
How do I prevent the caramel from burning?
Keep the heat at medium and stir continuously when cooking the sugar and water mixture. Watch carefully as it can quickly go from amber to burnt. Removing from heat at the right color is key.
Print
Salted Caramel Apple Krispy Treats Recipe
- Total Time: 30 minutes
- Yield: 12 servings 1x
- Diet: Vegetarian
Description
Delightfully sweet and chewy Salted Caramel Apple Krispy Treats combine the classic crisp rice cereal and gooey marshmallows with rich homemade salted caramel and dried apple pieces for a perfect fall-inspired snack or dessert.
Ingredients
Salted Caramel:
- 1 Cup granulated sugar
- 1/4 Cup cold water
- 1/2 Cup heavy whipping cream
- 4 Tablespoons salted butter
- 1 Teaspoon sea salt
- 1/2 Teaspoon vanilla extract
Krispy Treats:
- 4 Cups miniature marshmallows
- 4 Tablespoons butter
- 6 Cups rice krispies cereal
- 1 Cup dried apple pieces
- 1 Cup salted caramel (prepared from above)
Instructions
- Make the Salted Caramel: In a medium saucepan over medium heat, combine the granulated sugar and cold water. Stir continuously until the mixture turns a medium to dark amber color, signaling the caramelization process.
- Add Butter: Add the salted butter to the caramel and stir well for 1-2 minutes until the butter is fully melted. Be cautious as the mixture will bubble up due to the temperature difference.
- Incorporate Cream: Slowly drizzle the heavy whipping cream into the caramel while stirring. Allow the caramel to boil gently for 2 minutes to create a smooth, rich sauce.
- Finish Caramel: Remove the saucepan from heat, then stir in the vanilla extract and sea salt. Let the caramel cool and thicken before using in the next step.
- Prepare Krispy Treat Base: In a large saucepan, melt the butter over low heat. Add the miniature marshmallows along with 1 cup of the prepared salted caramel, stirring continuously until the marshmallows are fully melted and the mixture is smooth.
- Combine Ingredients: Remove the saucepan from heat, then fold in the rice krispies cereal and dried apple pieces. Stir thoroughly so all the cereal is evenly coated with the marshmallow and caramel mixture.
- Set and Serve: Pour the mixture into a prepared pan (lightly greased or lined with parchment paper) and press down firmly to form an even layer. Drizzle additional salted caramel on top as desired. Allow the treats to cool completely before cutting into squares for serving.
Notes
- When adding butter and cream to the caramel, expect bubbling; stir carefully to avoid splatters or burns.
- Use dried apple pieces for best texture; fresh apples would add too much moisture.
- Press the mixture firmly into the pan to help treats hold together well.
- Store leftovers in an airtight container at room temperature for up to 3 days.
- To soften caramel drizzle for topping, gently warm before drizzling.
- Prep Time: 15 minutes
- Cook Time: 15 minutes
- Category: Dessert
- Method: Stovetop
- Cuisine: American
Keywords: salted caramel, apple, krispy treats, rice krispies, marshmallow dessert, fall treats, homemade caramel, no bake dessert


