
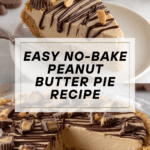
No-Bake Peanut Butter Pie Recipe
Introduction
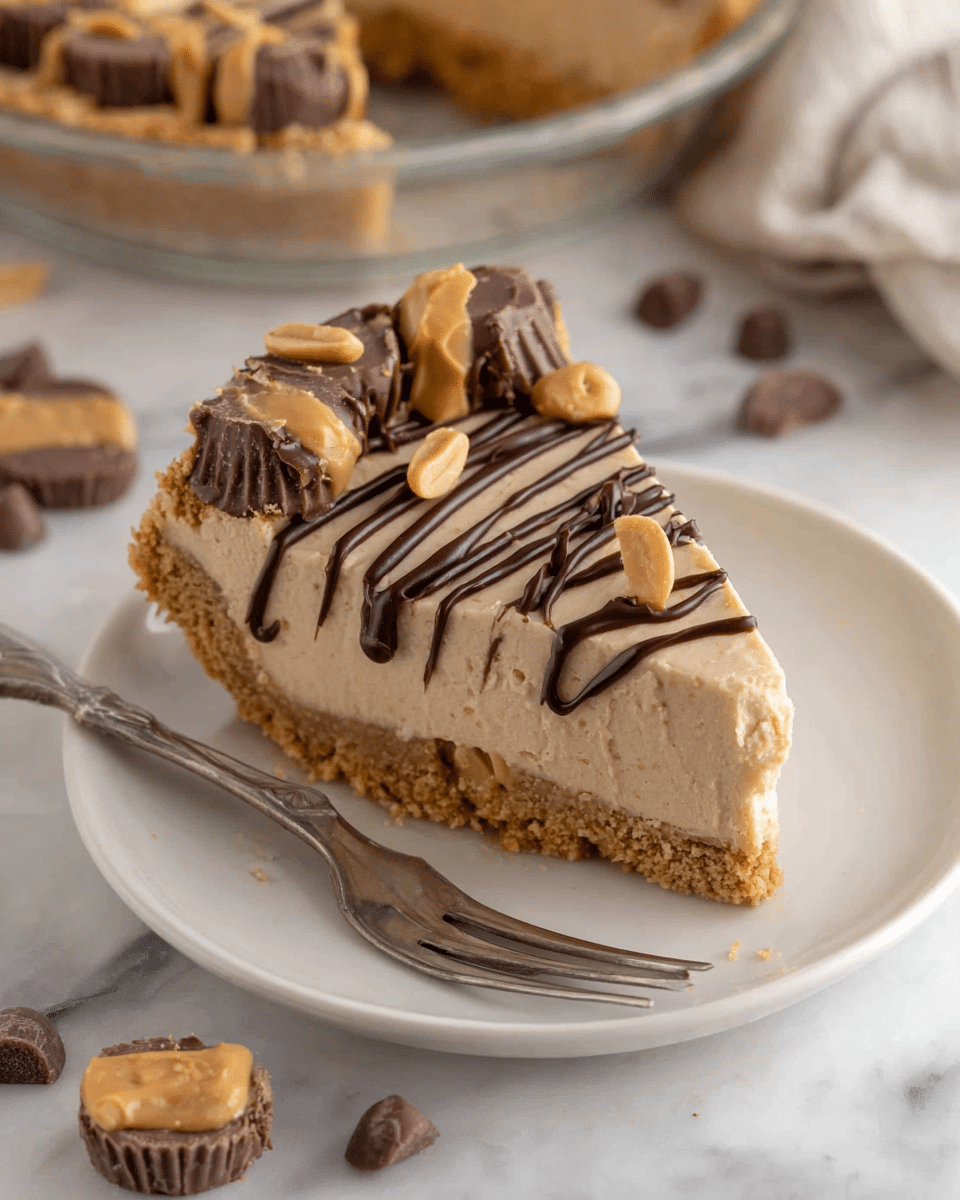
This no-bake peanut butter pie is a creamy, dreamy dessert that’s easy to prepare and perfect for any occasion. With a buttery graham cracker crust and a rich peanut butter filling, it’s sure to satisfy your sweet tooth without turning on the oven.
Ingredients
- 1 ½ cups graham cracker crumbs
- ¼ cup granulated sugar
- 6 tbsp unsalted butter, melted
- 8 oz cream cheese, softened
- 1 cup creamy peanut butter
- ¼ teaspoon salt
- 1 cup powdered sugar
- 1 tsp vanilla extract
- 1 ½ cups heavy whipping cream (or 1 tub whipped topping)
- Melted chocolate or chocolate shavings, for garnish
- Chopped peanuts, for garnish
- Chopped mini peanut butter cups, for garnish
Instructions
- Step 1: In a bowl, combine the graham cracker crumbs, granulated sugar, and melted butter. Mix well until evenly moistened.
- Step 2: Press the crumb mixture firmly into the bottom and up the sides of a 9-inch pie pan. Chill in the refrigerator while you prepare the filling.
- Step 3: In a large bowl, beat the softened cream cheese and peanut butter together until smooth and creamy.
- Step 4: Add the powdered sugar, salt, and vanilla extract to the peanut butter mixture. Mix until all ingredients are fully incorporated.
- Step 5: In a separate bowl, whip the heavy cream until stiff peaks form. If using whipped topping, omit this step.
- Step 6: Gently fold the whipped cream (or whipped topping) into the peanut butter mixture until well combined and fluffy.
- Step 7: Spread the filling evenly into the chilled crust and smooth the surface with a spatula.
- Step 8: Refrigerate the pie for at least 4 hours, or preferably overnight, to set and develop the best texture.
- Step 9: Before serving, garnish with melted chocolate drizzles, chopped peanuts, chopped mini peanut butter cups, and extra whipped cream if desired.
- Step 10: Slice and enjoy your creamy no-bake peanut butter pie!
Tips & Variations
- For a crunchy crust, mix in some chopped nuts with the graham cracker crumbs before pressing into the pan.
- Use crunchy peanut butter for added texture in the filling.
- Swap the heavy cream with coconut cream for a dairy-free version.
- Allow the pie to chill overnight for a firmer slice and enhanced flavor.
- Top with fresh banana slices for a peanut butter and banana twist.
Storage
Store the pie covered in the refrigerator for up to 3 days. For best taste and texture, serve chilled. When reheating, it’s best served cold, but you can let it sit at room temperature for 10–15 minutes before slicing to soften slightly.
How to Serve

Serve this delicious recipe with your favorite sides.
FAQs
Can I use crunchy peanut butter instead of creamy?
Yes, crunchy peanut butter can be used if you prefer a bit of texture in the filling. Just be aware that the filling will be less smooth.
Do I have to use heavy cream or can I use whipped topping?
You can use store-bought whipped topping as a substitute for whipped heavy cream. Fold it gently into the peanut butter mixture to keep the filling light and airy.
Print
No-Bake Peanut Butter Pie Recipe
- Total Time: 4 hours 20 minutes
- Yield: 8 servings 1x
Description
This No-Bake Peanut Butter Pie is a creamy, rich dessert featuring a buttery graham cracker crust and a smooth peanut butter filling. Topped with chocolate drizzles, chopped peanuts, and optional whipped cream, it’s a perfect treat that requires no baking and sets in the fridge for a luscious melt-in-your-mouth experience.
Ingredients
Crust
- 1 ½ cups graham cracker crumbs
- ¼ cup granulated sugar
- 6 tbsp unsalted butter, melted
Filling
- 8 oz package cream cheese, softened
- 1 cup creamy peanut butter
- ¼ teaspoon salt
- 1 cup powdered sugar
- 1 tsp vanilla extract
- 1 ½ cups heavy whipping cream (or 1 tub of whipped topping)
Toppings
- Melted chocolate or chocolate shavings
- Chopped peanuts
- Chopped mini peanut butter cups (optional)
- Whipped cream (optional)
Instructions
- Make the crust: In a bowl, combine graham cracker crumbs, granulated sugar, and melted butter until evenly mixed. Press this mixture firmly into the bottom and up the sides of a 9-inch pie pan. Place it in the refrigerator to chill while you prepare the filling.
- Prepare the filling: In a large mixing bowl, beat the softened cream cheese and creamy peanut butter together until smooth and creamy, ensuring no lumps remain.
- Add sweeteners and flavor: Incorporate powdered sugar, salt, and vanilla extract into the peanut butter mixture. Mix thoroughly until all ingredients are well combined and the mixture is smooth.
- Whip the cream: In a separate bowl, whip the heavy cream until stiff peaks form. If using whipped topping, it can be folded in without additional whipping.
- Combine filling and cream: Gently fold the whipped cream or whipped topping into the peanut butter mixture. Take care to fold delicately to keep the mixture light and airy.
- Assemble the pie: Spread the filling evenly into the chilled crust, smoothing the surface with a spatula for a neat finish.
- Chill to set: Refrigerate the pie for at least 4 hours, preferably overnight, to allow the filling to firm up and for flavors to meld together.
- Add toppings and serve: Before serving, garnish the pie with melted chocolate drizzles or chocolate shavings, chopped peanuts, mini peanut butter cups, and additional whipped cream if desired. Slice and enjoy your creamy peanut butter pie!
Notes
- For a quicker set time, refrigerate for at least 4 hours, but overnight refrigeration yields the best texture and flavor.
- You can substitute whipped topping for heavy cream to save time, but fresh whipped cream offers a lighter texture.
- To make the crust gluten free, use gluten free graham crackers.
- Store leftover pie covered in the refrigerator and consume within 3 days for best taste.
- Adding chopped mini peanut butter cups adds a fun texture and extra peanut butter flavor but is optional.
- Prep Time: 20 minutes
- Cook Time: 0 minutes
- Category: Dessert
- Method: No-Cook
- Cuisine: American
Keywords: No bake, peanut butter pie, creamy pie, graham cracker crust, easy dessert, refrigerated pie

