
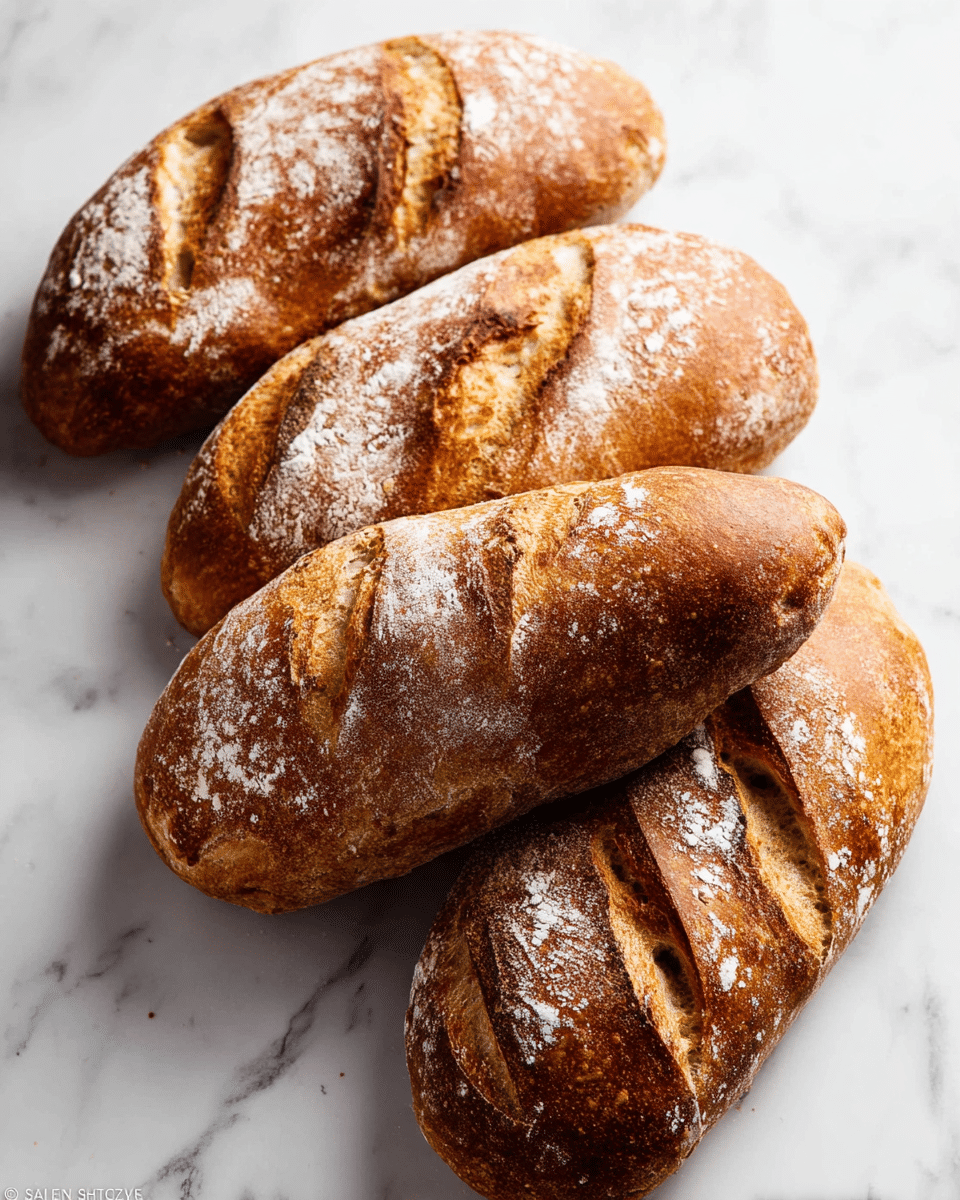
Homemade Artisan Bread Recipe
Introduction
Making homemade artisan bread is easier than you might think, and the results are deliciously rewarding. With just a few simple ingredients and a bit of patience, you can enjoy crusty, flavorful loaves fresh from your own oven.
Ingredients
- 3 and 1/4 cups (about 430g) bread flour (spooned & leveled), plus more for hands and pan
- 2 teaspoons (about 6g) instant yeast
- 2 teaspoons (about 9g) coarse salt
- 1 and 1/2 cups (360ml) water, close to room temperature at about 70°F (21°C)
- Optional: cornmeal for dusting pan
Instructions
- Step 1: In a large ungreased mixing bowl, whisk together the flour, yeast, and salt. Pour in the water and gently mix with a silicone spatula or wooden spoon until all the flour is moistened. The dough will be sticky and shaggy—use your hands if needed to bring it together. Shape it into a ball in the bowl.
- Step 2: Cover the bowl tightly with plastic wrap or aluminum foil and let the dough rise at room temperature for 2-3 hours until it nearly doubles in size and develops air bubbles.
- Step 3: For best flavor and texture, refrigerate the covered dough for 12 hours up to 3 days. The dough will puff up during this time but may deflate slightly after 2 days, which is normal.
- Step 4: Lightly dust a large nonstick baking sheet with flour or cornmeal. Turn the cold dough onto a floured surface and cut it in half using a sharp knife or bench scraper. Shape each half into a long loaf about 9×3 inches. Place them about 3 inches apart on the baking sheet. Loosely cover and let rest for 45 minutes.
- Step 5: While the dough rests, preheat your oven to 475°F (246°C).
- Step 6: Score each loaf with 3 slashes about 1/2 inch deep using a very sharp knife or bread lame. If the loaves have flattened, reshape them with floured hands.
- Step 7: (Optional) For a crispier crust, place a shallow metal or cast iron pan on the bottom rack as the oven preheats. When ready to bake, carefully pour 3-4 cups of boiling water into the pan and quickly place the bread on the center rack. Close the oven door to trap steam.
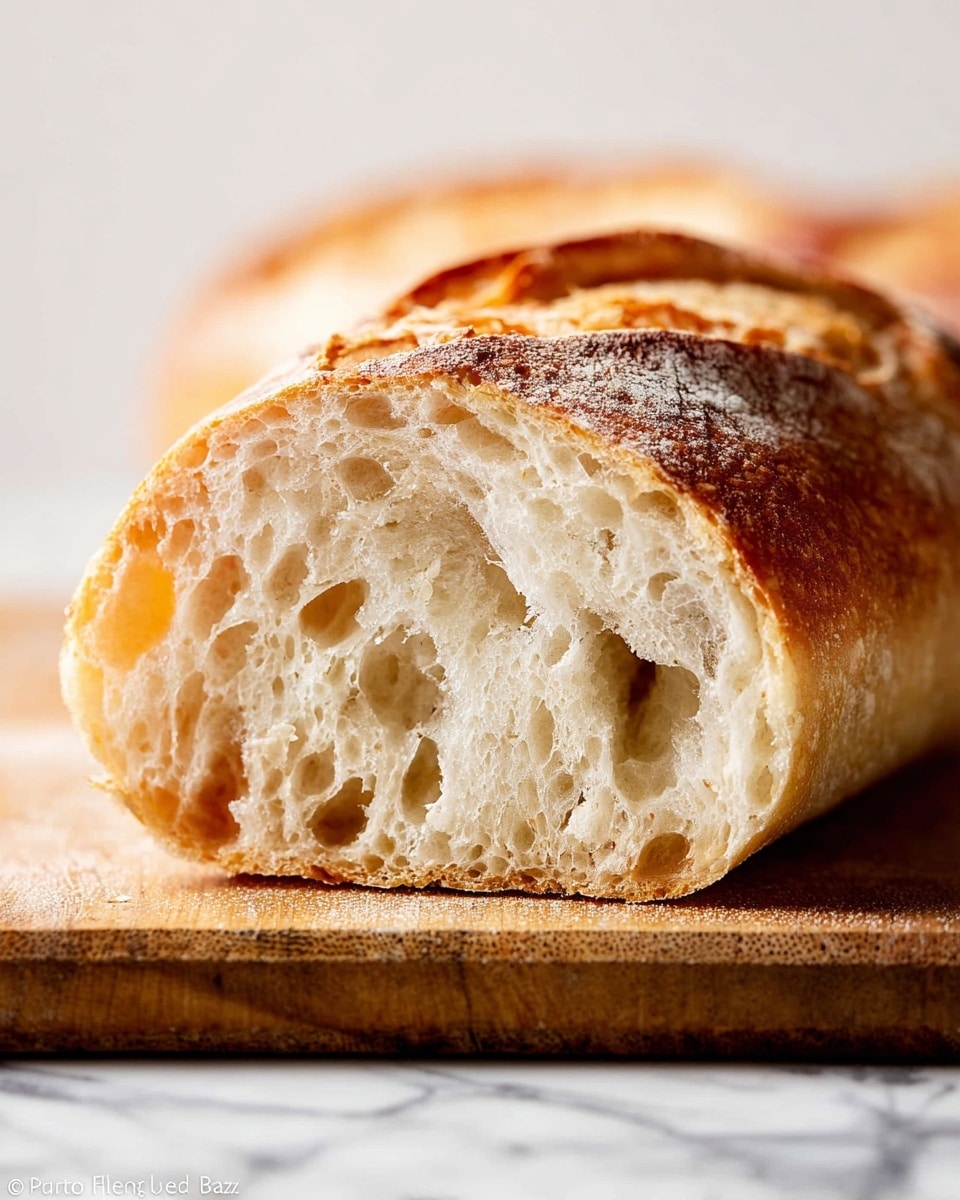
- Step 8: Bake the loaves for 20-25 minutes until golden brown. Tap the loaves; if they sound hollow, they are done. Using an instant read thermometer, the internal temperature should be 195°F (90°C).
- Step 9: Remove the bread and let cool at least 20 minutes before slicing and serving.
Tips & Variations
- Use bread flour for better gluten development and chewy texture.
- Allowing the dough to rest in the refrigerator enhances the flavor and crumb structure.
- Adding steam during baking yields a crustier loaf, but if you prefer a softer crust, skip the boiling water step.
- Mix in herbs, olives, or nuts in Step 1 for flavorful variations.
Storage
Store leftover bread loosely covered at room temperature for up to 5 days. For longer storage, keep in the refrigerator for up to 1 week. Reheat slices in a toaster or oven to refresh the crust before serving.
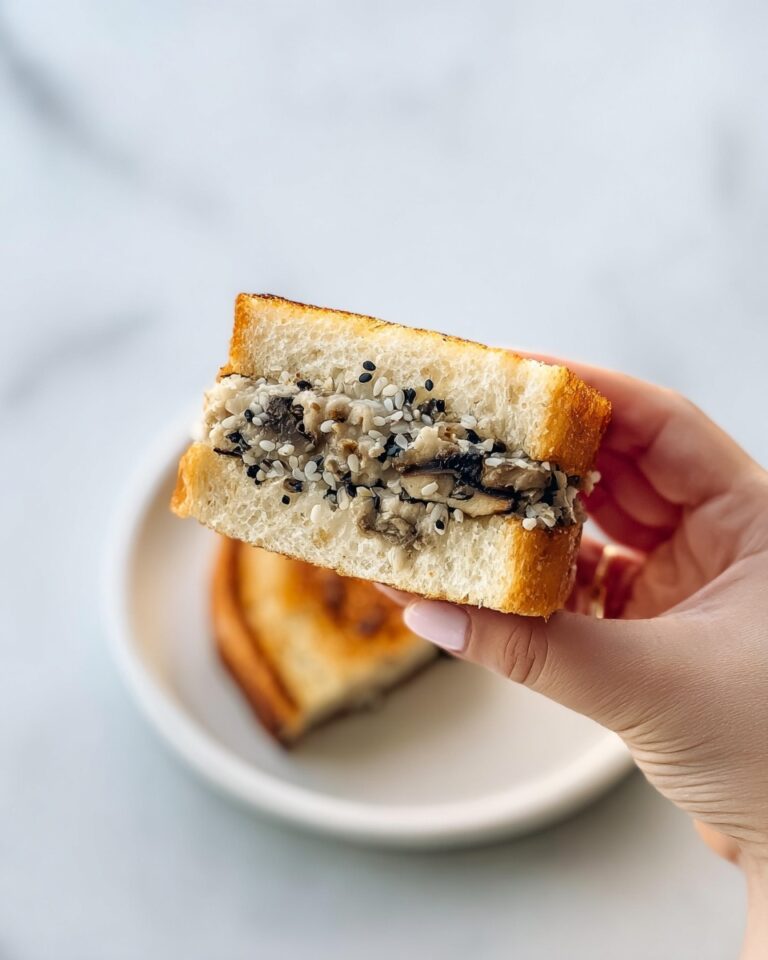
How to Serve
Serve this delicious recipe with your favorite sides.
FAQs
Can I use all-purpose flour instead of bread flour?
Yes, but bread flour is preferred for its higher protein content, which helps develop a chewier crumb and better rise. Using all-purpose flour may result in a slightly denser loaf.
Do I have to refrigerate the dough?
No, but refrigerating the dough for at least 12 hours improves flavor and texture by slowing fermentation. If short on time, you can proceed directly after the initial 2-3 hour rise at room temperature.
Print
Homemade Artisan Bread Recipe
- Total Time: 2 hours 40 minutes (without cold fermentation) to up to 3 days with cold fermentation
- Yield: 2 artisan loaves 1x
- Diet: Vegetarian
Description
This homemade artisan bread recipe offers a simple yet rewarding way to bake crusty, flavorful bread right at home. Using basic ingredients like bread flour, instant yeast, salt, and water, the dough undergoes a slow fermentation process that enhances its texture and taste. The method requires no kneading and includes optional refrigeration for improved flavor and structure. The result is two rustic loaves with a golden, crispy crust and a soft, airy interior, perfect for sandwiches, toast, or accompanying any meal.
Ingredients
Dry Ingredients
- 3 and 1/4 cups (about 430g) bread flour, spooned & leveled, plus more for hands and pan
- 2 teaspoons (about 6g) instant yeast
- 2 teaspoons (about 9g) coarse salt
Wet Ingredients
- 1 and 1/2 cups (360ml) water, close to room temperature at about 70°F (21°C)
Optional
- Cornmeal, for dusting pan
Instructions
- Mix Ingredients: In a large ungreased mixing bowl, whisk together the bread flour, instant yeast, and coarse salt. Pour in the room temperature water and gently combine using a silicone spatula or wooden spoon. The dough will appear dry and shaggy; continue mixing until all flour is moistened. Use your hands if necessary to bring the dough together. It will be sticky. Shape the dough into a ball inside the bowl.
- First Rise: Cover the bowl tightly with plastic wrap or aluminum foil and leave it at room temperature for 2-3 hours. The dough should almost double in size, stick to the sides of the bowl, and develop visible air bubbles.
- Cold Fermentation (Optional for Best Flavor): For optimal flavor and texture, place the covered dough in the refrigerator for 12 hours to up to 3 days. During this time, the dough will puff up and may deflate after 2 days, which is normal.
- Shape the Dough: Lightly dust a large nonstick baking sheet with flour and/or cornmeal. Turn the cold dough out onto a floured surface and cut it in half with a sharp knife or bench scraper. Some air bubbles will deflate as you work. Shape each half into a long loaf about 9 by 3 inches, spacing them roughly 3 inches apart on the pan. Loosely cover the loaves and allow them to rest for 45 minutes at room temperature.
- Preheat Oven: While the dough rests, preheat your oven to 475°F (246°C).
- Score the Loaves: Using a very sharp knife or bread lame, make three shallow slashes about 1/2 inch deep across the top of each loaf. If the loaves have flattened, use floured hands to reshape them before scoring.
- Add Steam (Optional): For a crispier crust, place a shallow metal or cast iron pan on the bottom rack of the oven as it preheats. Just before baking, pour 3 to 4 cups of boiling water into the pan to create steam. Quickly place the baking sheet with the scored loaves on the rack above and close the oven door to trap steam.
- Bake: Bake the dough for 20-25 minutes until the crust is golden brown. To test doneness, tap the bottom of the loaves — if they sound hollow, they are done. Alternatively, an instant-read thermometer inserted in the center should read 195°F (90°C).
- Cool and Serve: Remove the bread from the oven and allow it to cool on a wire rack for at least 20 minutes before slicing. Store leftovers loosely covered at room temperature for up to 5 days or in the refrigerator for up to 1 week.
Notes
- Using coarse salt enhances the flavor and helps regulate fermentation.
- The optional refrigerator rest (cold fermentation) improves flavor and texture but is not mandatory.
- Flouring or dusting the pan with cornmeal prevents sticking and adds a slight texture to the bottom crust.
- Steam during baking helps develop a crispier crust but can be omitted if you prefer a softer crust.
- Allow the bread to cool completely before slicing to avoid a gummy crumb.
- Prep Time: 15 minutes
- Cook Time: 25 minutes
- Category: Bread
- Method: Baking
- Cuisine: American
Keywords: artisan bread, homemade bread, no-knead bread, crusty bread, bread baking, easy bread recipe, slow fermentation


