
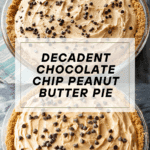
Chocolate Chip Peanut Butter Pie Recipe
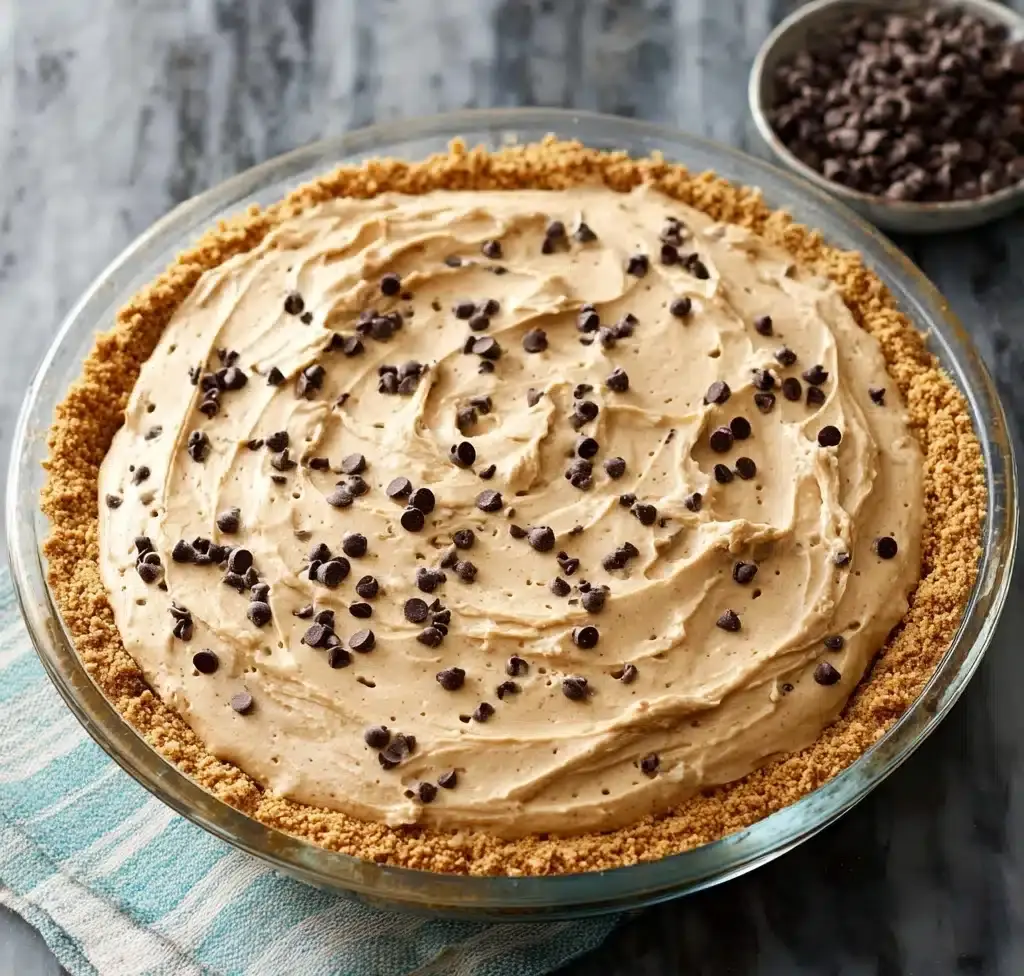
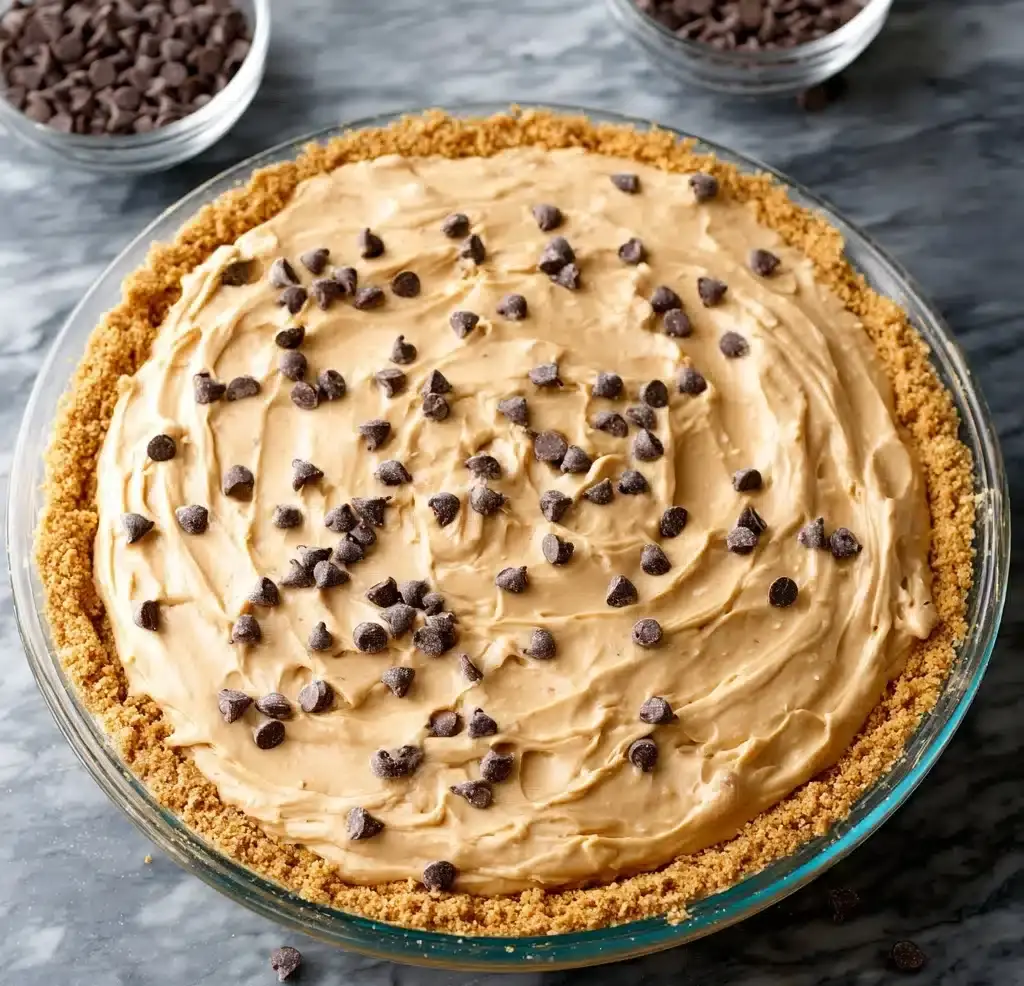
If you’re ready for the ultimate no-bake dessert, this Chocolate Chip Peanut Butter Pie is here to make all your dessert dreams come true. Imagine a luscious, creamy peanut butter filling dotted with mini chocolate chips, all cradled in a sweet, buttery graham cracker crust. Every bite strikes the perfect balance between nutty, chocolatey, sweet, and just the right hint of salt. Whether you’re making it for a family celebration, a midweek treat, or just because you can’t resist the combination, this is the kind of pie that brings everyone back for seconds. Trust me, once you try Chocolate Chip Peanut Butter Pie, it’ll become one of your most requested recipes!
Ingredients You’ll Need
One of the best things about Chocolate Chip Peanut Butter Pie is how it transforms simple pantry staples into a show-stopping treat. Each ingredient is chosen for its contribution—crunch, creaminess, sweetness, and that irresistible peanut butter punch.
- Graham cracker crumbs: The classic base for that crunchy, slightly sweet crust that holds everything together.
- Granulated sugar: Adds sweetness to both the crust and the filling, making every bite delightful.
- Brown sugar: Brings a gentle caramel note and added moisture to the crust for extra flavor.
- Melted butter: Binds the crumbs together and adds rich, toasty goodness to the base.
- Heavy cream: Whipped into soft peaks, it delivers a fluffy, light texture to the filling.
- Cream cheese (softened): Forms the creamy backbone of the filling, adding slight tang.
- Peanut butter (creamy): The star ingredient—be sure to use the creamy kind for the smoothest pie!
- Vanilla extract: Provides warmth and rounds out the flavors in the filling.
- Mini chocolate chips: Bite-sized bursts of chocolate in every forkful—the mini kind ensures you get plenty in each bite.
How to Make Chocolate Chip Peanut Butter Pie
Step 1: Make the Graham Cracker Crust
Start by blending your graham cracker crumbs, granulated sugar, brown sugar, and melted butter in a bowl until every crumb is perfectly coated. Press this mix firmly into the base and up the sides of a 9-inch pie plate. You want a crust that holds together but still has a bit of that signature crumbly bite. Pop the crust into the freezer while you prepare the filling—this step gives it a chance to set and makes assembly a breeze.
Step 2: Whip the Heavy Cream
Grab your cold heavy cream and whip it until it holds soft peaks—this is the secret to your pie’s airy texture. Whipped cream should be billowy and just stiff enough to stand tall on its own. Tuck it in the refrigerator to keep it cold while you move on to the next steps.
Step 3: Beat the Cream Cheese, Sugar, and Peanut Butter
Reach for your largest bowl and beat the softened cream cheese until it’s silky smooth. Add in the granulated sugar, mix again, then bring in the peanut butter and vanilla. Scrape down the bowl as needed; you want a perfectly blended filling with no lumps—just pure, creamy peanut butter goodness!
Step 4: Fold in the Whipped Cream
Now, gently fold the fluffy whipped cream into your peanut butter mixture, taking care not to deflate it. This step is key—it’s what gives Chocolate Chip Peanut Butter Pie its light yet decadent texture. Keeping things gentle ensures a mousse-like consistency that practically melts in your mouth.
Step 5: Add the Mini Chocolate Chips
Sprinkle in the mini chocolate chips and fold once more, just until they’re evenly distributed. The mini chips guarantee every bite is studded with chocolatey pops without overwhelming the creamy filling.
Step 6: Assemble and Freeze
Pour the chocolate chip peanut butter filling into your chilled graham cracker crust, smoothing the top with a spatula. Set the filled pie into the freezer until it’s firm. This short chill not only makes the pie easier to slice, but also gives you an ice cream pie effect that’s irresistible.
Step 7: Serve and Savor
If you’re serving your pie more than half an hour after prepping, keep it in the freezer and thaw for about 20 minutes before slicing—perfect for a firm, frosty treat. For a creamier, gooey pie, let it thaw in the fridge until soft. If the crust resists coming out of the pan, dip the base briefly in hot water for an easy release (just be careful not to let water seep in!).
How to Serve Chocolate Chip Peanut Butter Pie
Garnishes
A slice of Chocolate Chip Peanut Butter Pie is already gorgeous, but adding a few finishing touches makes it truly special. Consider a generous dollop of whipped cream, a handful of extra mini chocolate chips, or a drizzle of warm chocolate or caramel sauce. If you’re feeling fancy, a sprinkle of flaky sea salt highlights all the flavors and gives a little sparkle to your presentation.
Side Dishes
This pie is rich and satisfying, so keep sides simple: a scoop of vanilla ice cream, a fresh fruit salad, or a mug of hot coffee offers just the right accompaniment. For celebrations, pair it with a cold glass of milk or even a sweet dessert wine to round out the experience.
Creative Ways to Present
For parties, try slicing your Chocolate Chip Peanut Butter Pie into bars instead of wedges, or serve mini pie bites in cupcake wrappers for a grab-and-go treat. You can also garnish each slice with a chocolate peanut butter cup or fruity preserves for a colorful, whimsical touch that reflects your personality.
Make Ahead and Storage
Storing Leftovers
If you’re lucky enough to have any pie left, store it covered in the fridge for up to 4 days. The flavors will only get cozier as they meld, and the texture stays beautifully creamy.
Freezing
Chocolate Chip Peanut Butter Pie loves the freezer! You can freeze the whole pie, tightly wrapped, for up to a month. For individual cravings, freeze slices on a tray and then transfer to a zip-top bag. Thaw in the fridge or at room temperature (if you like a firmer, frozen pie).
Reheating
No need to reheat—this treat is meant to stay delightfully chilled. If your pie is too firm straight from the freezer, allow it to sit at room temperature for 15–20 minutes, or until it reaches your desired level of creaminess before serving.
FAQs
Can I make Chocolate Chip Peanut Butter Pie ahead of time?
Absolutely! It’s the perfect make-ahead dessert. Assemble it a day or two in advance and store tightly wrapped in the fridge or freezer. Just remember to let it thaw a bit so it’s easy to slice and enjoy.
What’s the best peanut butter to use?
Always go for creamy, processed peanut butter for this recipe. Natural peanut butters tend to split or become oily, which can affect the silky filling. Brands like Jif or Skippy work wonderfully here.
Can I use a different crust?
Yes! A chocolate cookie crust is a delicious, slightly richer twist, or try a pretzel crust for a salty-sweet balance. Just make sure whatever base you choose is firmly packed.
How do I keep the pie from sticking to the pan?
If the crust is being stubborn, dip the bottom of the pie plate into a shallow pan of hot water for 10–20 seconds. This loosens the crust and makes slicing and serving so much easier.
Can I make this nut-free?
You can substitute sunflower seed butter or cookie butter for the peanut butter for a nut-free version. The flavor will change, but you’ll still get that same creamy, dreamy pie texture.
Final Thoughts
This Chocolate Chip Peanut Butter Pie is a treat that always hits the sweet spot, no matter the occasion. Creamy, rich, and absolutely decadent, it’s an easy-to-make showstopper that’s guaranteed to bring smiles to every table. Why not treat yourself and your loved ones to a slice of indulgence? Go ahead and give it a try—you might just find your new favorite dessert!
Print
Chocolate Chip Peanut Butter Pie Recipe
- Total Time: 2 hours
- Yield: 1 9″ pie 1x
- Diet: Vegetarian
Description
Indulge in the decadent richness of this Chocolate Chip Peanut Butter Pie, a delightful treat that combines the nutty flavor of peanut butter with the sweetness of mini chocolate chips in a creamy, dreamy filling nestled in a buttery graham cracker crust.
Ingredients
For the Crust:
- 3/4 cup graham cracker crumbs
- 1/4 cup granulated sugar
- 2 tablespoons brown sugar
- 4 tablespoons melted butter
For the Filling:
- 1 1/2 cups heavy cream
- 8 ounces cream cheese, softened
- 3/4 cup granulated sugar
- 1 cup creamy peanut butter
- 1 tablespoon vanilla
- 1 cup mini chocolate chips
Instructions
- Prepare the Crust: Blend graham cracker crumbs, granulated sugar, brown sugar, and melted butter in a bowl. Press mixture into a 9″ pie plate, covering the bottom and pushing crumbs up the sides. Freeze.
- Whip the Cream: Whip heavy cream until peaks form. Set aside.
- Make the Filling: Beat cream cheese until smooth. Add sugar, peanut butter, and vanilla. Blend well.
- Combine: Fold whipped cream into the peanut butter mixture. Add mini chocolate chips and blend.
- Fill the Crust: Pour filling into the prepared pie crust. Freeze until firm.
- Serve: Thaw for 20 minutes for an ice cream-like consistency. For a softer pie, thaw in the refrigerator.
Notes
- For a twist, try using crunchy peanut butter for added texture.
- This pie can be customized with additional toppings like whipped cream or chocolate drizzle.
- Prep Time: 30 minutes
- Cook Time: 0 minutes
- Category: Dessert
- Method: Mixing, Chilling
- Cuisine: American
Nutrition
- Serving Size: 1 slice
- Calories: 480
- Sugar: 24g
- Sodium: 260mg
- Fat: 36g
- Saturated Fat: 18g
- Unsaturated Fat: 14g
- Trans Fat: 0g
- Carbohydrates: 36g
- Fiber: 2g
- Protein: 10g
- Cholesterol: 70mg
Keywords: Chocolate Chip Peanut Butter Pie, Peanut Butter Pie, Dessert Recipe