Red, White and Blue Mini Cheesecakes Recipe
Introduction
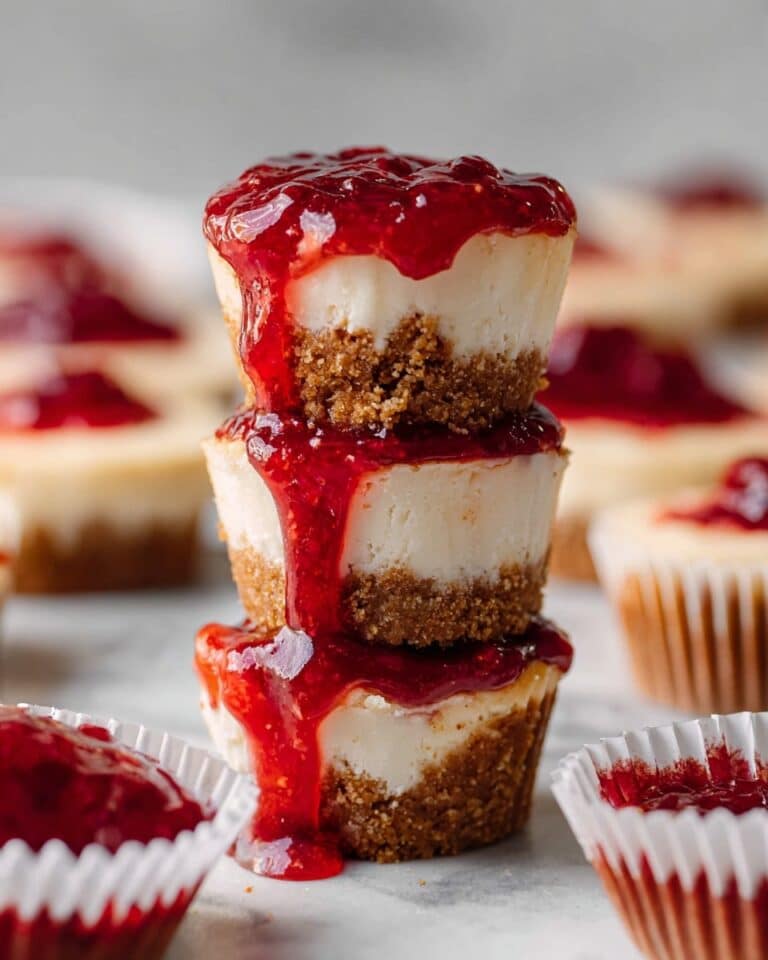
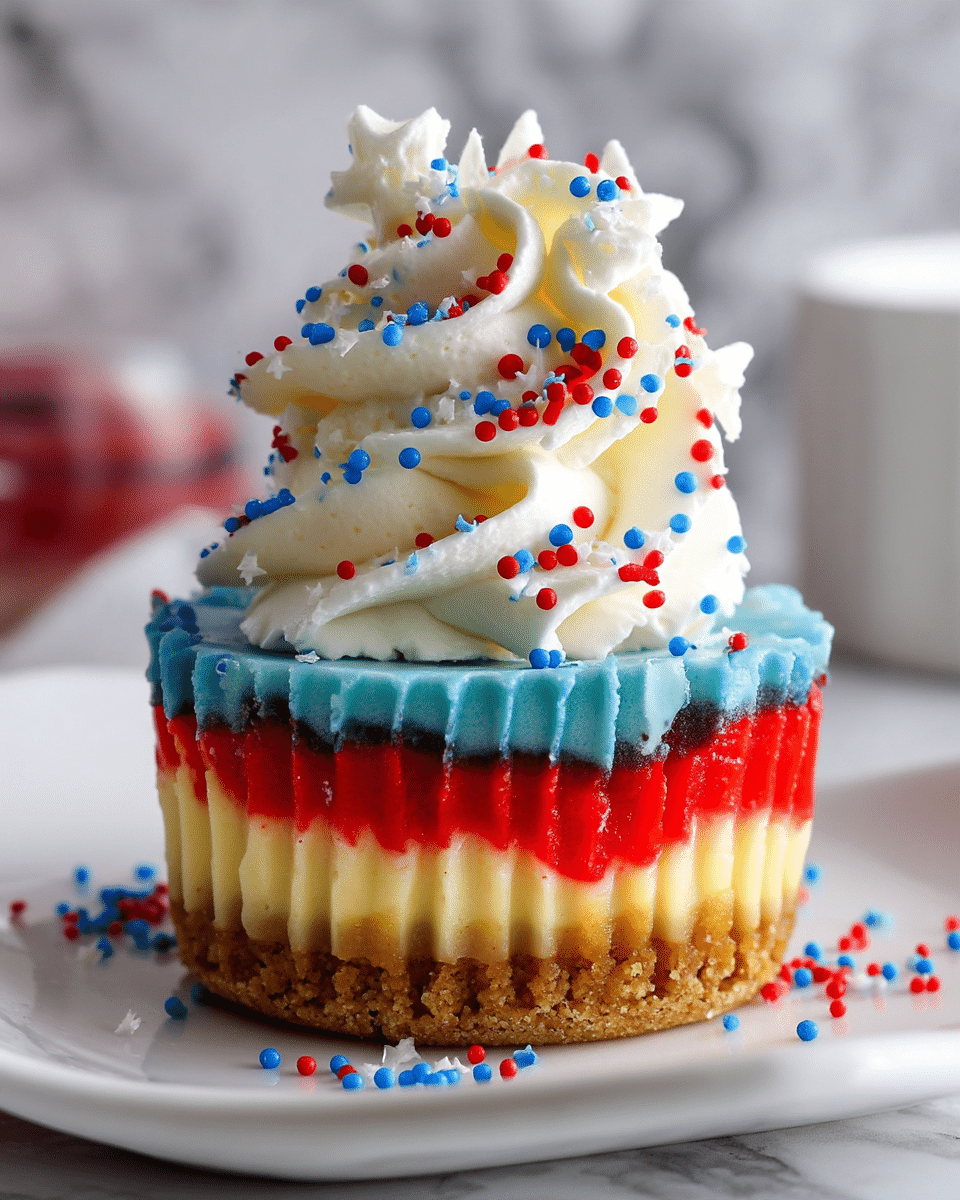
These Red, White and Blue Mini Cheesecakes are a festive and delicious treat, perfect for celebrations or any time you want a colorful dessert. With a crumbly vanilla wafer crust and layers of creamy cheesecake in patriotic colors, they’re sure to impress.
Ingredients
- 1 cup (134g) vanilla wafer cookie crumbs
- 2 tbsp (26g) granulated sugar
- 4 tbsp (56g) butter, melted
- 12 ounces (339g) cream cheese, room temperature
- 1/2 cup (104g) granulated sugar
- 3 tbsp (24g) all-purpose flour
- 1/2 cup (115g) sour cream
- 1 1/2 tsp vanilla extract
- 2 large eggs
- Blue gel icing color
- Red gel icing color
- 1/2 cup (120ml) heavy whipping cream, cold
- 5 tbsp (36g) powdered sugar
- 1/2 tsp vanilla extract (for whipped cream)
- Sprinkles
Instructions
- Step 1: Preheat your oven to 325°F (162°C) and line a cupcake pan with cupcake liners.
- Step 2: Mix the vanilla wafer cookie crumbs, granulated sugar, and melted butter. Divide this mixture evenly between the cupcake liners, about 2 tablespoons each, pressing firmly into the bottoms to form the crust.
- Step 3: Bake the crusts for 5 minutes, then remove from the oven and let them cool while you prepare the filling.
- Step 4: Lower the oven temperature to 300°F (148°C). In a large bowl, beat the cream cheese, sugar, and flour on low speed until combined, scraping down the sides to prevent air bubbles.
- Step 5: Add the sour cream and vanilla extract, beating until fully incorporated.
- Step 6: Add the eggs one at a time, mixing slowly and scraping the bowl after each addition.
- Step 7: Divide the cheesecake batter evenly into three bowls. Leave one bowl plain, add red gel icing color to one, and blue gel icing color to the other.
- Step 8: Layer the batter in each cupcake liner by adding a tablespoon of white batter, then a tablespoon of red, followed by a tablespoon of blue. Fill the cups mostly full.
- Step 9: Bake for 18-20 minutes, then turn off the oven and leave the door closed for 10 minutes.
- Step 10: Crack the oven door open and let cheesecakes cool for 15-20 minutes before refrigerating them to cool completely.
- Step 11: Once cooled, remove the mini cheesecakes from the pan.
- Step 12: To prepare the whipped cream topping, whip the cold heavy cream, powdered sugar, and vanilla extract on high speed until stiff peaks form.
- Step 13: Pipe or spoon the whipped cream onto each cheesecake and decorate with sprinkles.
- Step 14: Store the cheesecakes in an airtight container in the refrigerator until ready to serve. They are best enjoyed within 2-3 days.
Tips & Variations
- Use gel icing colors sparingly to achieve vibrant colors without affecting the batter texture.
- For an extra burst of flavor, add a teaspoon of lemon zest to the cheesecake batter.
- Swap sprinkles for fresh blueberries and sliced strawberries to enhance the patriotic theme naturally.
Storage
Store the mini cheesecakes in an airtight container in the refrigerator for up to 3 days. To reheat, allow them to come to room temperature for about 15 minutes before serving; avoid microwaving to maintain texture.
How to Serve

Serve this delicious recipe with your favorite sides.
FAQs
Can I make these cheesecakes ahead of time?
Yes, these mini cheesecakes can be made a day or two in advance and stored in the refrigerator. This allows the flavors to develop and makes them convenient for parties or events.
Can I freeze the mini cheesecakes?
Yes, you can freeze these cheesecakes without the whipped cream topping. Wrap them tightly in plastic wrap and place in an airtight container. Thaw overnight in the refrigerator before serving and add whipped cream fresh.
Print
Red, White and Blue Mini Cheesecakes Recipe
- Total Time: 1 hour 15 minutes
- Yield: 12 mini cheesecakes 1x
Description
These Red, White, and Blue Mini Cheesecakes are festive, creamy treats perfect for patriotic celebrations. Featuring a buttery vanilla wafer crust and tri-colored cheesecake layers, these individual-sized desserts are topped with fluffy whipped cream and colorful sprinkles for a delightful presentation.
Ingredients
Crust
- 1 cup (134g) vanilla wafer cookie crumbs
- 2 tbsp (26g) granulated sugar
- 4 tbsp (56g) butter, melted
Filling
- 12 ounces (339g) cream cheese, room temperature
- 1/2 cup (104g) granulated sugar
- 3 tbsp (24g) all-purpose flour
- 1/2 cup (115g) sour cream
- 1 1/2 tsp vanilla extract
- 2 large eggs
- Blue gel icing color
- Red gel icing color
Whipped Cream Topping
- 1/2 cup (120ml) heavy whipping cream, cold
- 5 tbsp (36g) powdered sugar
- 1/2 tsp vanilla extract
- Sprinkles for decoration
Instructions
- Preheat Oven and Prepare Pan: Preheat your oven to 325°F (162°C). Line a cupcake pan with cupcake liners to prepare for the mini cheesecakes.
- Make the Crust: In a bowl, combine the vanilla wafer cookie crumbs, granulated sugar, and melted butter. Divide this mixture evenly among the cupcake liners, using about 2 tablespoons per cup. Press firmly into the bottoms to create the cheesecake crust.
- Bake the Crust: Bake the prepared crusts for 5 minutes at 325°F, then remove from the oven. Allow them to cool slightly while preparing the filling.
- Reduce Oven Temperature: Lower the oven temperature to 300°F (148°C) to prepare for baking the cheesecakes.
- Mix Cream Cheese Base: In a large bowl, blend the softened cream cheese, granulated sugar, and all-purpose flour at low speed until well combined. Scrape down the sides of the bowl to ensure an even mix and avoid incorporating too much air.
- Add Sour Cream and Vanilla: Stir in the sour cream and vanilla extract, continuing to beat on low speed until fully incorporated.
- Incorporate Eggs: Add eggs one at a time, beating slowly after each addition and scraping down the bowl sides to maintain a smooth batter.
- Divide and Color Batter: Split the cheesecake batter evenly into three separate bowls. Leave one bowl plain white, tint one with red gel icing color, and the other with blue gel icing color.
- Layer the Cheesecake Batter: In each crust-lined cupcake cup, layer the batter by spooning in about one tablespoon of white batter first, followed by one tablespoon of red batter, and then one tablespoon of blue batter, filling the cups mostly full.
- Bake Cheesecakes: Bake the layered mini cheesecakes at 300°F for 18-20 minutes. After baking, turn off the oven and keep the door closed for an additional 10 minutes to prevent cracking.
- Cool in Oven: Crack open the oven door and allow the cheesecakes to cool gradually for 15-20 minutes before transferring them to the refrigerator to finish cooling completely.
- Remove from Pan: Once fully cooled, carefully remove the mini cheesecakes from the cupcake pan and liners.
- Prepare Whipped Cream: In a large mixing bowl, combine cold heavy whipping cream, powdered sugar, and vanilla extract. Whip on high speed until stiff peaks form, creating a fluffy topping.
- Decorate Cheesecakes: Pipe or spoon the whipped cream onto each cheesecake, then garnish with colorful sprinkles for a festive touch.
- Refrigerate: Store the decorated cheesecakes in an airtight container in the refrigerator. Best served within 2-3 days for optimal freshness and flavor.
Notes
- Be sure to use room temperature cream cheese to ensure a smooth batter without lumps.
- Color the batter gently to avoid deflating it, which helps maintain a creamy texture.
- Layering the batter carefully helps achieve the distinct red, white, and blue look without mixing colors too much.
- Allowing the cheesecakes to cool gradually in the oven helps prevent cracks on the topping.
- Use stiff peaks for the whipped cream to ensure it holds its shape on top of the cheesecakes.
- These mini cheesecakes are best enjoyed within a few days to maintain freshness and texture.
- Prep Time: 20 minutes
- Cook Time: 25 minutes
- Category: Dessert
- Method: Baking
- Cuisine: American
Keywords: mini cheesecake, patriotic dessert, red white and blue dessert, cheesecake recipe, holiday dessert, individual cheesecakes