Homemade Milky Way Bars Recipe
Introduction
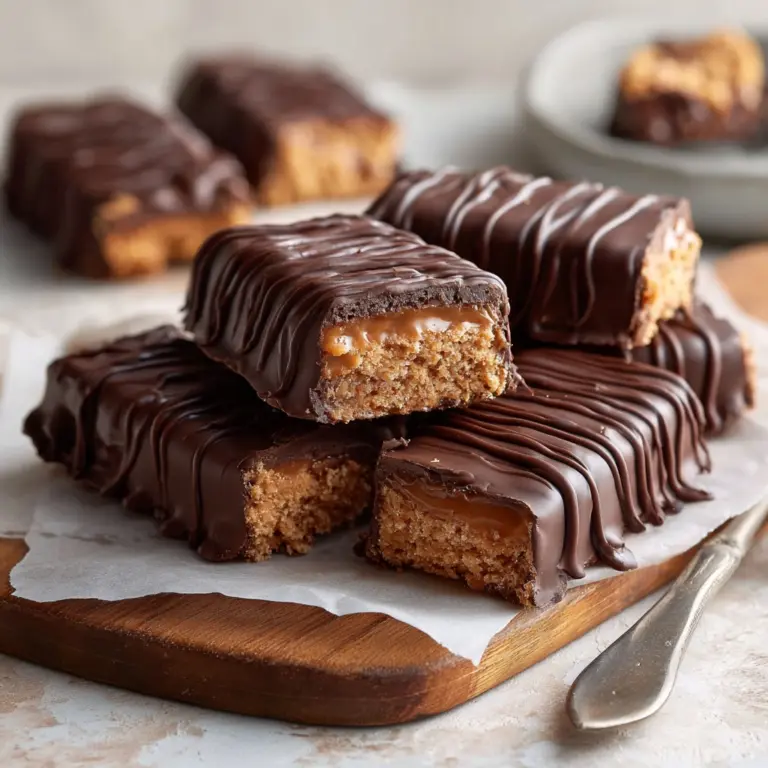
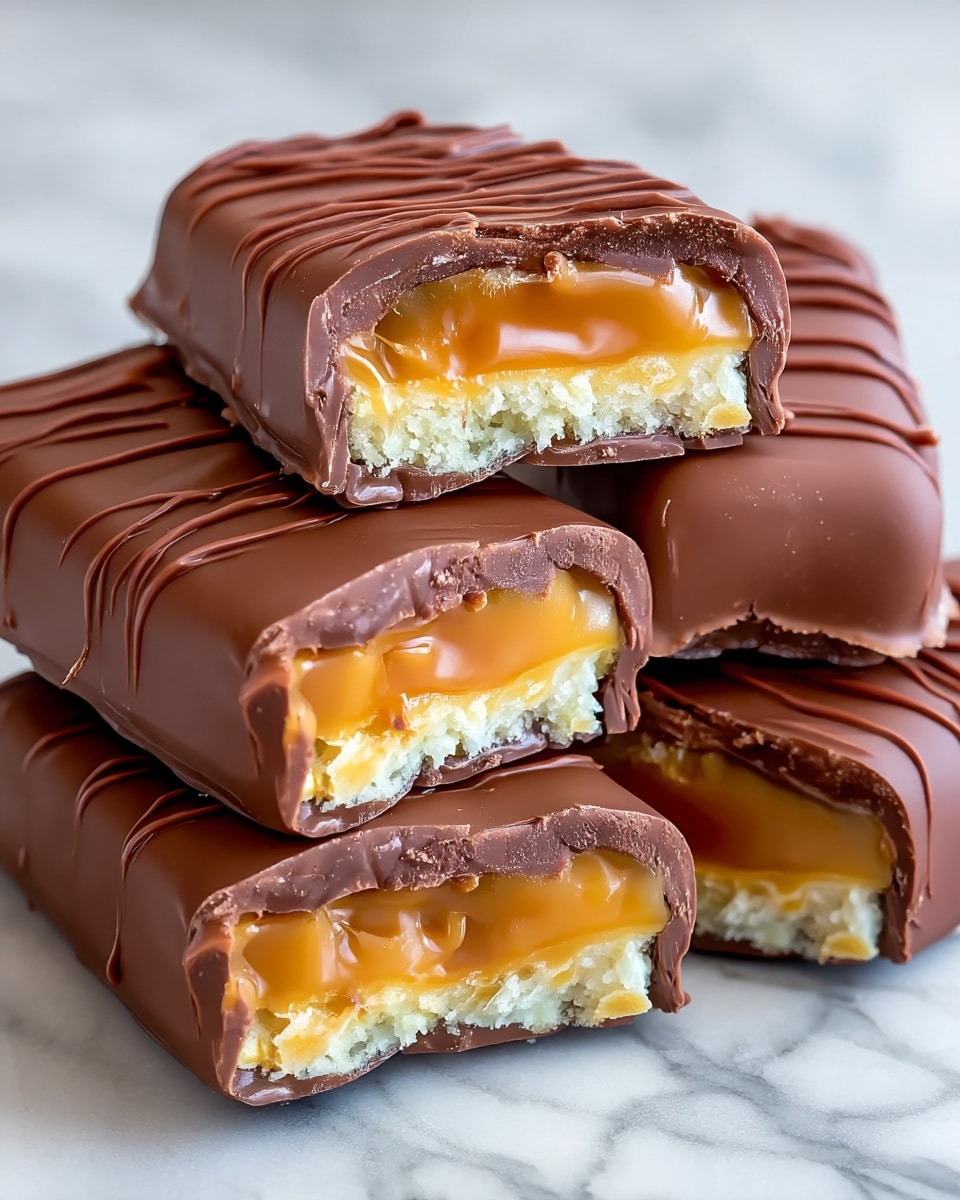
These homemade Milky Way bars offer a rich and indulgent treat with layers of silky chocolate and gooey caramel. Perfect for satisfying your sweet tooth, they bring the classic candy bar experience right into your kitchen.
Ingredients
- 11 ounces semi-sweet chocolate chips
- 2/3 cup evaporated milk, divided
- 7 ounces marshmallow fluff
- 11 ounces soft chewy caramels, unwrapped
- 10 ounces Ghirardelli chocolate melting wafers
- 1 tablespoon vegetable oil
Instructions
- Step 1: Line an 8×8 inch pan with parchment paper.
- Step 2: In a large saucepan over low-medium heat, combine the semi-sweet chocolate chips with half of the evaporated milk. Stir frequently for 4–5 minutes until the mixture is silky smooth.
- Step 3: Add the marshmallow fluff to the chocolate mixture and stir until fully combined.
- Step 4: Pour the chocolate mixture into the prepared pan and smooth the surface. Place it in the refrigerator to set.
- Step 5: Clean the saucepan or use a separate one. Combine the unwrapped caramels with the remaining evaporated milk over low-medium heat. Stir frequently until the caramel mixture is smooth.
- Step 6: Pour the caramel over the set chocolate layer, smoothing it out evenly. Chill in the refrigerator for 4 hours or overnight.
- Step 7: Once chilled, lift the layered mixture out of the pan using the parchment paper. Cut into 16 bars by making one vertical cut down the center and seven horizontal cuts across each half.
- Step 8: Line a 9×13 inch baking sheet with parchment paper.
- Step 9: Place the chocolate melting wafers in a microwave-safe bowl. Microwave at 50% power for 1 minute, then stir. Add the vegetable oil, continue microwaving in 30-second intervals at 50% power, stirring after each, until smooth.
- Step 10: Using two forks or dipping tools, dip each bar fully into the melted chocolate. Place the coated bars onto the prepared baking sheet.
- Step 11: Refrigerate the coated bars on the baking sheet for 30 minutes until the chocolate hardens.
Tips & Variations
- Use good quality chocolate chips and melting wafers for the best flavor and smooth texture.
- For a nutty twist, sprinkle chopped toasted almonds or hazelnuts over the caramel layer before chilling.
- To make cutting easier, warm your knife blade with hot water before slicing the bars.
- If you prefer a creamier caramel, stir in a tablespoon of heavy cream while melting the caramels.
- Store the bars chilled for optimal firmness, especially in warmer climates.
Storage
Store the homemade Milky Way bars in an airtight container in the refrigerator for up to one week. When ready to enjoy, you can let them sit at room temperature for a few minutes to soften slightly before serving. These bars also freeze well; wrap each piece individually and place in a freezer-safe container for up to 2 months. Thaw in the refrigerator before eating.
How to Serve
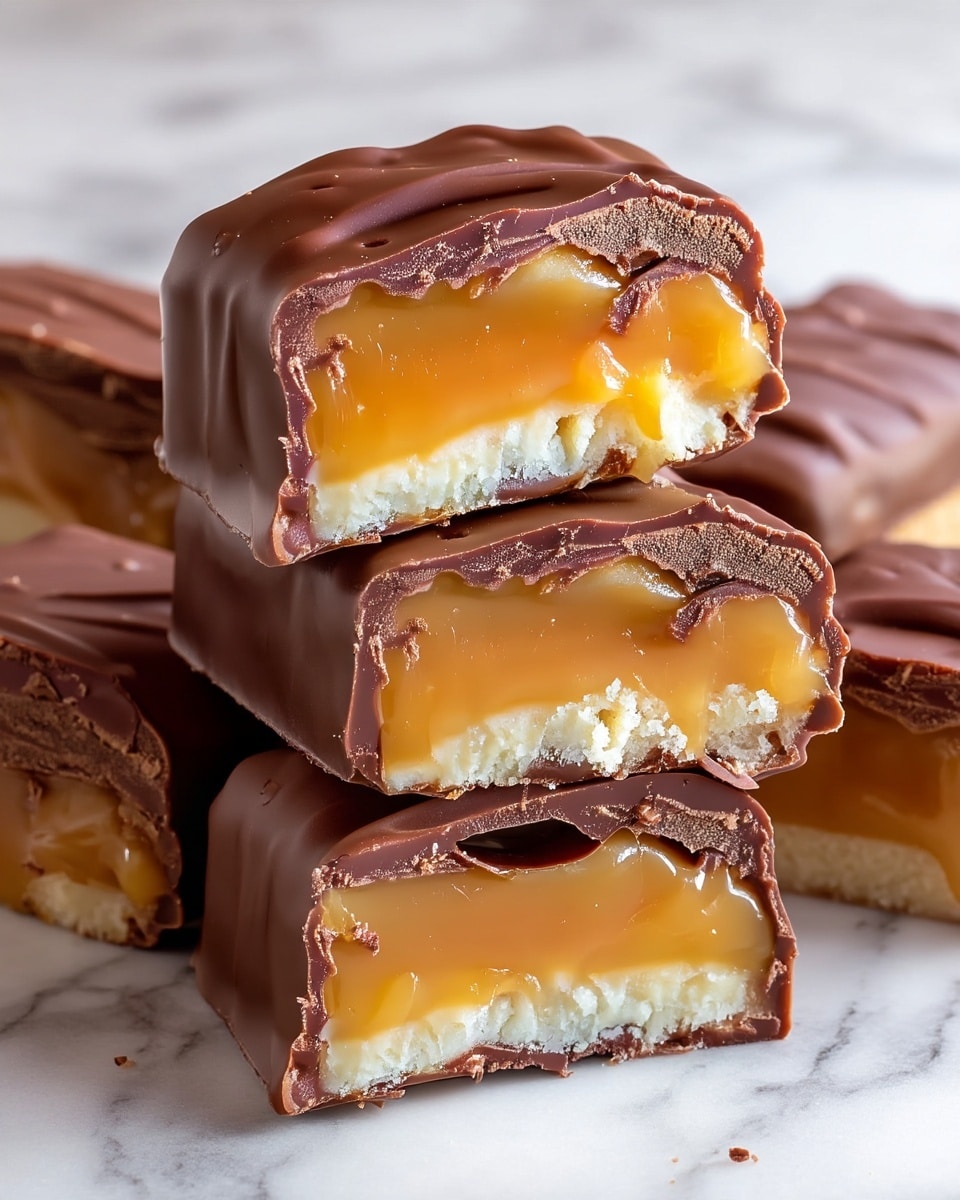
Serve this delicious recipe with your favorite sides.
FAQs
Can I use regular milk instead of evaporated milk?
Evaporated milk provides a thicker consistency, which helps achieve the right texture in both the chocolate and caramel layers. Using regular milk may result in a thinner mixture and slightly different texture, so it’s best to stick with evaporated milk if possible.
What if I don’t have melting wafers for coating?
You can substitute with good quality semi-sweet or bittersweet chocolate chips. To achieve a smooth coating, chop the chocolate finely and melt it gently with a bit of vegetable oil or shortening to thin it out.
Print
Homemade Milky Way Bars Recipe
- Total Time: 4 hours 30 minutes
- Yield: 16 bars 1x
Description
Homemade Milky Way Bars are a decadent layered treat featuring a silky chocolate base, gooey caramel center, and a smooth chocolate coating. This no-bake recipe combines semi-sweet chocolate, marshmallow fluff, soft caramels, and melted chocolate wafers to recreate the classic candy bar in your own kitchen, perfect for satisfying sweet cravings with a rich, creamy texture.
Ingredients
Chocolate Layer
- 11 ounces semi-sweet chocolate chips
- 1/3 cup evaporated milk (half of 2/3 cup)
- 7 ounces marshmallow fluff
Caramel Layer
- 11 ounces soft chewy caramels, unwrapped
- 1/3 cup evaporated milk (remaining half)
Chocolate Coating
- 10 ounces Ghirardelli chocolate melting wafers
- 1 tablespoon vegetable oil
Instructions
- Prepare the pan: Line an 8×8 inch pan with parchment paper to ensure easy removal of the layered bars once set.
- Melt chocolate mixture: In a large saucepan over low-medium heat, combine the semi-sweet chocolate chips and half of the evaporated milk. Stir frequently for 4-5 minutes until the mixture becomes silky smooth. Add marshmallow fluff and continue stirring until fully incorporated.
- Add chocolate layer: Pour the prepared chocolate mixture into the lined pan and smooth the surface evenly. Place the pan in the refrigerator to allow the chocolate layer to set firmly.
- Melt caramel mixture: Using a clean saucepan, combine the unwrapped soft caramels and the remaining evaporated milk over low-medium heat. Stir frequently until the caramel melts and the mixture is silky smooth.
- Add caramel layer: Pour the melted caramel over the chilled chocolate layer and smooth it out evenly. Return the pan to the refrigerator and chill for at least 4 hours or overnight for best results.
- Cut into bars: Once chilled and firm, lift the layered mixture out of the pan using the parchment paper edges. Place on a cutting board and cut into 16 equal pieces by making one vertical cut down the middle, then seven horizontal cuts across each half.
- Prepare baking sheet: Line a 9×13 inch baking sheet with parchment paper to prepare for the chocolate coating of the bars.
- Melt chocolate coating: Place the chocolate melting wafers in a microwave-safe bowl. Microwave on 50% power for 1 minute, then stir well. Add the vegetable oil and continue microwaving in 30-second intervals at 50% power, stirring after each interval until the chocolate is completely smooth and ready for dipping.
- Coat with chocolate: Using two forks or dipping tools, fully dip each bar piece into the melted chocolate, ensuring complete coverage. Place the chocolate-coated bars onto the prepared baking sheet to set.
- Final chill: Refrigerate the coated bars on the baking sheet for at least 30 minutes to allow the chocolate coating to harden before serving or storing.
Notes
- Use parchment paper to easily remove the bars from the pan.
- Microwaving chocolate at reduced power prevents burning and ensures smoothness.
- Store finished bars in an airtight container in the refrigerator for up to one week.
- For cleaner cuts, warm the knife blade slightly before slicing the bars.
- Soft chewy caramels melt best when combined with evaporated milk to create a smooth layer.
- Prep Time: 15 minutes
- Cook Time: 15 minutes
- Category: Dessert
- Method: Stovetop
- Cuisine: American
Keywords: Milky Way Bars, Homemade candy bars, chocolate caramel bars, no-bake dessert, layered candy bars