Witch Hat Cookies Recipe
Introduction
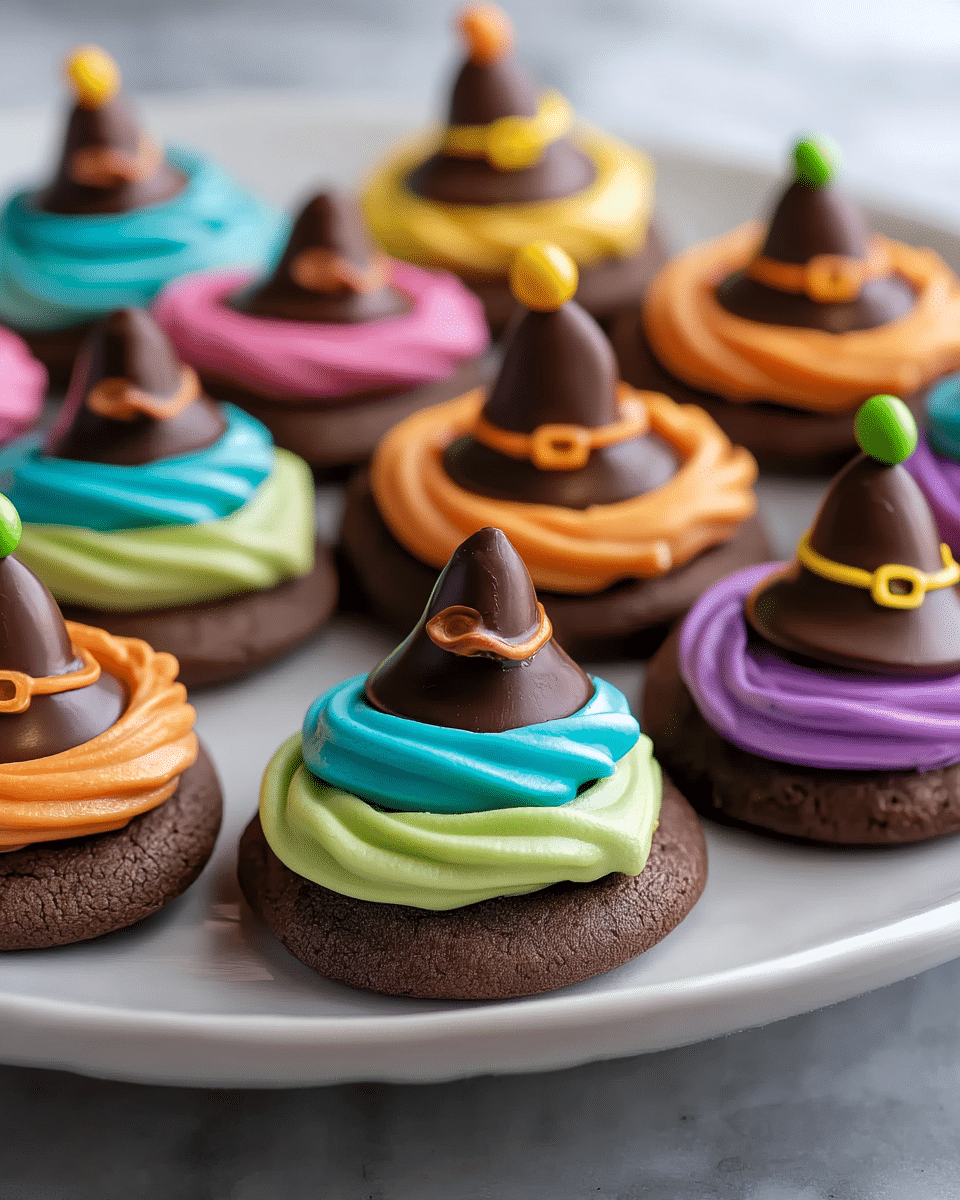
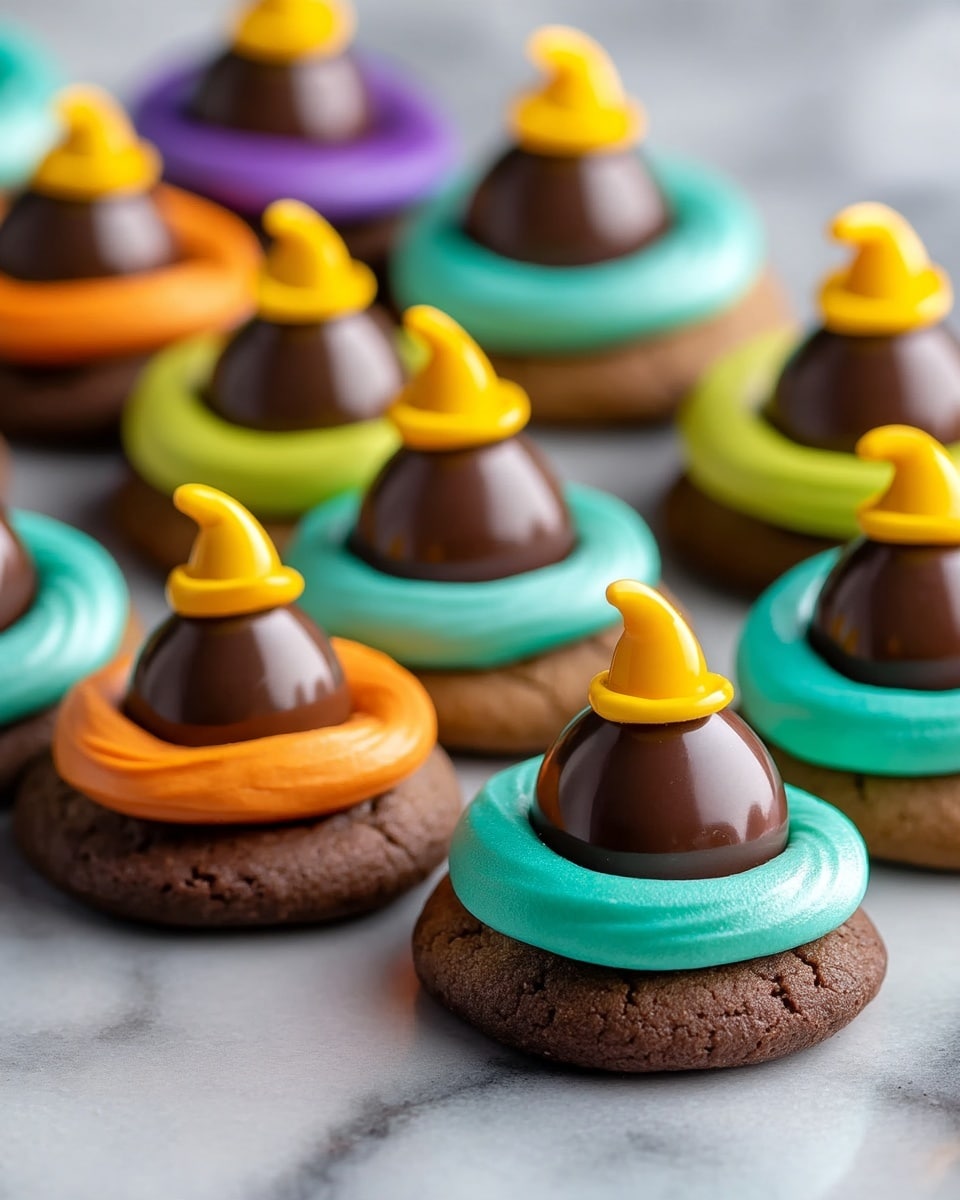
Witch Hat Cookies are a fun and festive treat perfect for Halloween or any spooky celebration. These easy-to-make cookies combine rich fudge, colorful frosting, and chocolate accents to create adorable edible witch hats.
Ingredients
- 1 packet fudge-covered cookies
- 16 ounces white frosting
- Food coloring (various colors)
- 18 chocolate kisses (unwrapped)
- 18 mini yellow M&Ms
Instructions
- Step 1: Arrange the fudge-covered cookies in a single layer on a baking tray.
- Step 2: Divide the white frosting into small bowls and mix in food coloring until desired shades are achieved.
- Step 3: Fill piping bags with the colored frosting by cutting off one corner.
- Step 4: Place a dollop of frosting on each cookie’s center.
- Step 5: Press one chocolate kiss into the frosting to create the witch hat shape.
- Step 6: Add a mini yellow M&M as a buckle on each hat.
- Step 7: Allow cookies to set for 15-20 minutes before serving.
Tips & Variations
- Try using different colors of frosting to make your witch hats more vibrant and fun.
- For a gluten-free option, choose gluten-free fudge-covered cookies.
- If you don’t have piping bags, use a sturdy plastic sandwich bag and snip off a small corner to pipe the frosting.
Storage
Store the finished Witch Hat Cookies in an airtight container at room temperature for up to 3 days. Avoid refrigerating as the frosting may soften. If needed, warm slightly before serving to refresh the texture.
How to Serve
Serve this delicious recipe with your favorite sides.
FAQs
Can I make these cookies ahead of time?
Yes, you can decorate the cookies a few hours ahead and let them set before serving. Just keep them stored in an airtight container to maintain freshness.
What if I can’t find mini yellow M&Ms?
You can substitute with small candies like yellow jelly beans, yellow candy-coated chocolate, or even small pieces of yellow fruit leather for the buckle detail.
Print
Witch Hat Cookies Recipe
- Total Time: 15-20 minutes (including setting time)
- Yield: 18 cookies 1x
Description
These Witch Hat Cookies are a delightful and festive treat perfect for Halloween or themed parties. Using fudge-covered cookies, colorful frosting, chocolate kisses, and mini yellow M&Ms, you can easily create adorable witch hat shapes that are both visually appealing and delicious. The recipe requires no baking, making it simple and fun for all ages to prepare.
Ingredients
Base
- 1 packet fudge-covered cookies
Frosting
- 16 ounces white frosting
- Food coloring (various colors, to desired shades)
Decoration
- 18 chocolate kisses (unwrapped)
- 18 mini yellow M&Ms
Instructions
- Arrange Cookies: Place the fudge-covered cookies in a single layer on a baking tray or flat surface to prepare for decorating.
- Prepare Frosting: Divide the white frosting evenly into several small bowls, then add food coloring to each bowl to achieve your desired colors. Mix thoroughly for even coloring.
- Fill Piping Bags: Transfer each colored frosting into separate piping bags by cutting off one corner of the bag, enabling easy and precise decorating.
- Frost Cookies: Pipe a dollop of colored frosting onto the center of each fudge-covered cookie. This frosting acts as the glue for the hat decoration.
- Attach Chocolate Kiss: Gently press one unwrapped chocolate kiss upright onto the frosting dollop on each cookie, forming the iconic witch hat shape.
- Add Buckle Decoration: Place one mini yellow M&M on the front of each chocolate kiss as a decorative buckle for the witch hat.
- Set the Cookies: Allow the decorated cookies to sit at room temperature for 15 to 20 minutes so the frosting can set and secure the decorations before serving.
Notes
- Use different colors of frosting to customize your witch hats for a vibrant display.
- If frosting is too thick, slightly warm it to make piping easier.
- These cookies are best enjoyed within 2 days for optimal freshness.
- Store cookies in an airtight container at room temperature to prevent the chocolate kisses from melting and the frosting from drying out.
- Prep Time: 15 minutes
- Cook Time: 0 minutes
- Category: Dessert
- Method: No-Cook
- Cuisine: American
Keywords: Witch Hat Cookies, Halloween Cookies, No-Bake Cookies, Festive Cookie Recipe, Chocolate Kiss Cookies