Soft Caramel Candies Recipe
Introduction
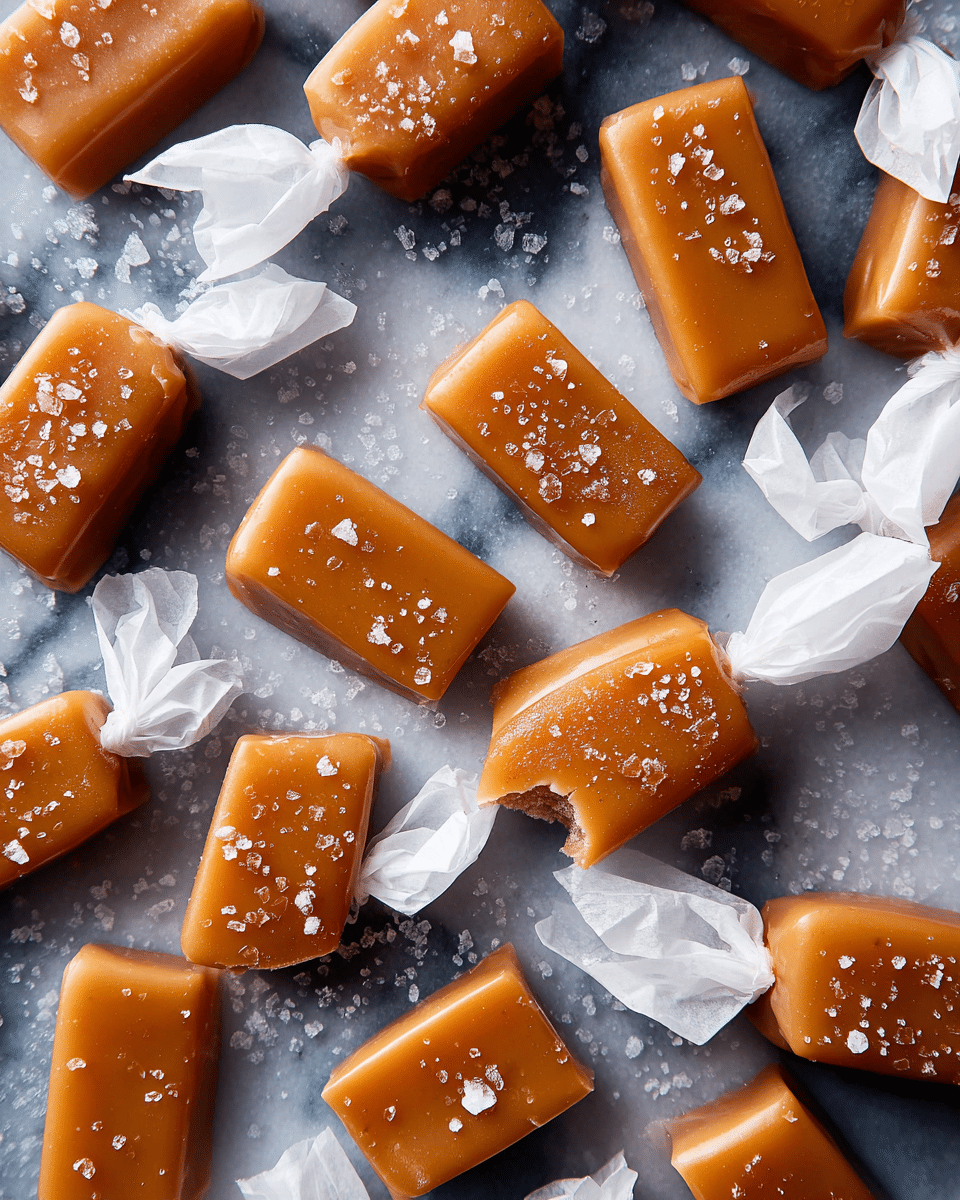
These soft caramel candies are rich, creamy, and perfectly chewy with a hint of vanilla and a touch of sea salt on top. They make a delightful homemade treat that’s both elegant and satisfying. Once you try this recipe, you’ll enjoy the warm, buttery flavors in every bite.
Ingredients
- 1 and 1/2 cups (355ml) heavy cream
- 1 cup (200g) granulated sugar
- 1/2 cup (100g) packed light brown sugar
- 1/3 cup (80ml) light corn syrup
- 1 teaspoon salt
- 1 teaspoon pure vanilla extract
- Seeds scraped from 1/2 of a vanilla bean
- 1 tablespoon (14g) unsalted butter, softened (plus more for lightly buttering the pan)
- Coarse sea salt for topping (optional)
Instructions
- Step 1: Line an 8-inch square baking pan with aluminum foil, leaving enough overhang on the sides to easily remove the caramel once set. Lightly grease the foil with butter.
- Step 2: In a 3-quart heavy-duty saucepan over medium heat, combine the cream, granulated sugar, brown sugar, and corn syrup. Stir constantly with a wooden spoon as the sugars dissolve. The mixture will become thick and cloudy.
- Step 3: Once the mixture starts boiling, brush down the sides of the pan with a water-moistened pastry brush to prevent sugar crystals. Attach a candy thermometer to the pan, ensuring it doesn’t touch the bottom.
- Step 4: Without stirring, cook the mixture until it reaches 245°F (118°C). Immediately remove from heat and carefully stir in the salt, vanilla extract, vanilla bean seeds, and softened butter. Be cautious as the mixture may bubble vigorously.
- Step 5: Pour the hot caramel into the prepared pan and sprinkle with coarse sea salt if desired. Let it cool uncovered at room temperature for 4 hours or overnight until fully set.
- Step 6: Once set, lift the caramel out of the pan using the foil overhang. Peel away the foil and cut the caramel into rectangles or squares with a very sharp knife. Wrap each piece in candy wrappers if you like.
Tips & Variations
- Use a clean, wet pastry brush to brush down the pan sides frequently to prevent crystallization and ensure smooth caramel.
- For a richer flavor, substitute half of the heavy cream with evaporated milk.
- Add a pinch of cayenne or cinnamon to the caramel mixture for a subtle spicy twist.
- If you don’t have a vanilla bean, increase the vanilla extract to 2 teaspoons for stronger flavor.
- Chill the pan lightly before pouring in the caramel to help it set faster.
Storage
Store the caramel candies in an airtight container at room temperature for up to two weeks. To prevent sticking, separate layers with parchment or wax paper. If storing for longer, keep them in the refrigerator and bring to room temperature before serving. Reheating is not recommended, as it may alter the texture.
How to Serve
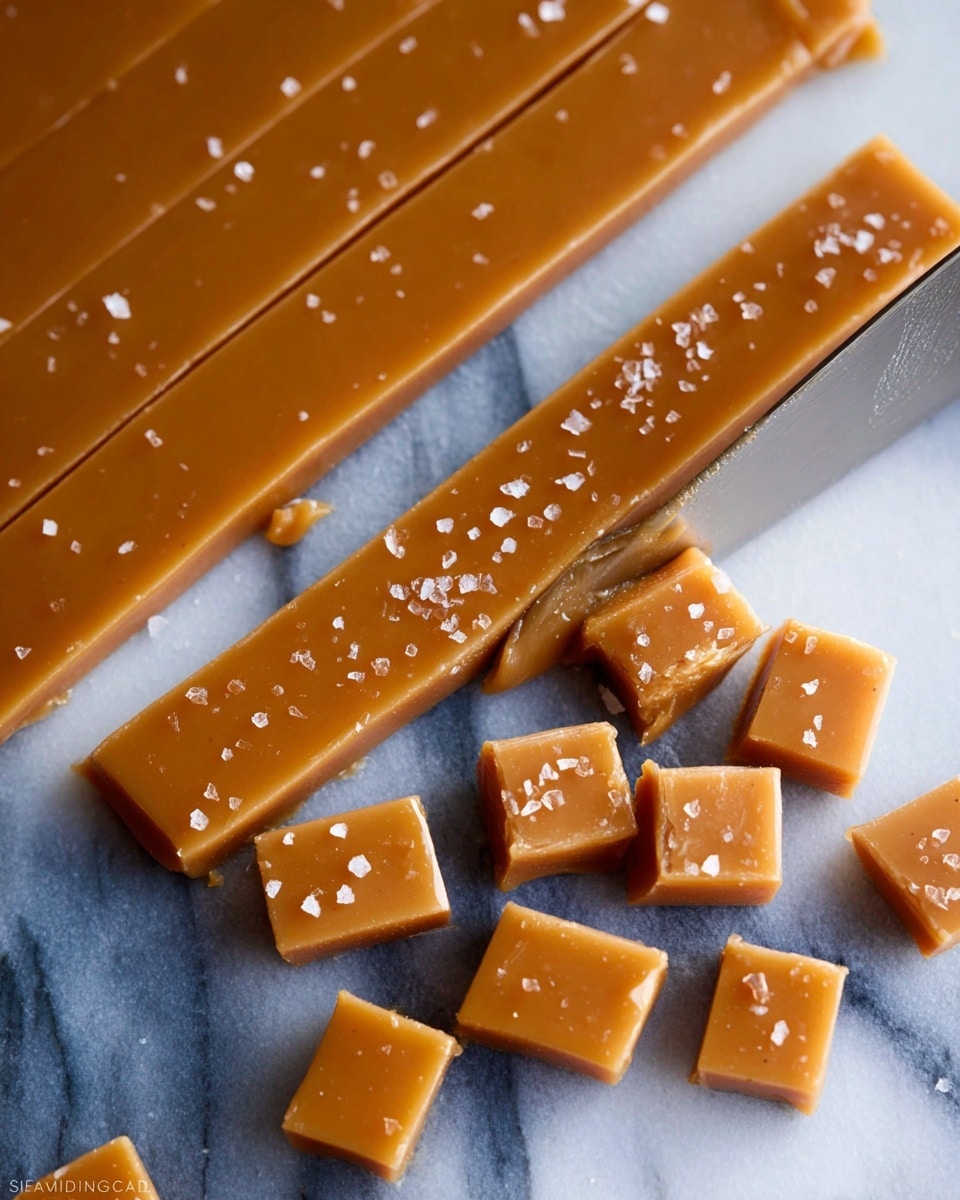
Serve this delicious recipe with your favorite sides.
FAQs
Can I use a different type of sugar instead of corn syrup?
Corn syrup helps prevent crystallization and keeps the caramel smooth. You can substitute with an equal amount of honey or golden syrup, but the texture might be slightly different.
How do I know when the caramel is done?
The caramel is ready when it reaches 245°F (118°C) on a candy thermometer, known as the firm ball stage. If you don’t have a thermometer, test by dropping a bit into cold water; it should form a firm but pliable ball.
Print
Soft Caramel Candies Recipe
- Total Time: 4 hours 25 minutes
- Yield: About 36 pieces 1x
Description
These Soft Caramel Candies are a decadent treat made with a perfect blend of cream, sugars, and real vanilla, cooked to a precise temperature for chewy, melt-in-your-mouth caramel. Finished with a touch of sea salt for an irresistible sweet-salty balance, they are perfect for gifting or indulging yourself.
Ingredients
Caramel Base
- 1 and 1/2 cups (355ml) heavy cream
- 1 cup (200g) granulated sugar
- 1/2 cup (100g) packed light brown sugar
- 1/3 cup (80ml) light corn syrup
- 1 teaspoon salt
- 1 teaspoon pure vanilla extract
- Seeds scraped from 1/2 of a vanilla bean
- 1 Tablespoon (14g) unsalted butter, softened (plus more for lightly buttering the pan)
Topping
- Coarse sea salt for topping
Instructions
- Prepare the Pan: Line an 8-inch square baking pan with aluminum foil, ensuring enough overhang on the sides to easily lift out the caramel later. Lightly grease the foil with softened butter to prevent sticking.
- Combine Ingredients: In a 3-quart heavy-duty saucepan over medium heat, combine heavy cream, granulated sugar, brown sugar, and light corn syrup. Stir constantly with a wooden spoon as the sugars dissolve. The mixture will thicken and become cloudy during this process.
- Boil Mixture: Once the mixture reaches a boil, brush down the sides of the saucepan with a water-moistened pastry brush to prevent crystallization. Attach a candy thermometer ensuring it does not touch the pan bottom.
- Cook to Temperature: Without stirring, cook the mixture until it reaches 245°F (118°C), a crucial step for achieving the soft caramel texture. Immediately remove the pan from heat to avoid overcooking.
- Add Flavor and Butter: Carefully stir in salt, vanilla extract, vanilla bean seeds, and softened butter. The mixture will bubble vigorously, so stir cautiously to combine all ingredients well.
- Pour and Set: Pour the hot caramel into the prepared pan, spreading evenly. Sprinkle coarse sea salt on top if desired. Allow the caramel to cool uncovered at room temperature for 4 hours or overnight until fully set.
- Cut and Wrap: Once set, lift the caramel out of the pan using the foil overhang. Peel the foil away and use a sharp knife to cut the caramel into rectangles or squares. Wrap candies individually with candy wrappers for storage or gifting.
Notes
- Use a heavy-duty saucepan to ensure even heat distribution and prevent burning.
- Avoid stirring the caramel mixture once boiling to prevent crystallization; only stir after reaching the target temperature.
- Brush the pan sides with water frequently to prevent sugar crystals from forming on the edges.
- The candy thermometer placement is crucial – it should not touch the pan bottom to get an accurate temperature reading.
- Allow the caramel to cool completely at room temperature without covering to achieve the ideal chewy texture.
- Store caramel candies wrapped and in an airtight container at room temperature for up to two weeks.
- Prep Time: 10 minutes
- Cook Time: 15 minutes
- Category: Candy
- Method: Stovetop
- Cuisine: American
Keywords: soft caramel candies, homemade caramel, easy caramel recipe, chewy caramel candy, salted caramel candy